Category: Gardening

Explore tips, guides, and ideas for all things gardening. From growing beautiful flowers and lush indoor plants to maintaining a thriving vegetable garden, discover practical advice for gardeners of every level. Learn techniques, seasonal care, and innovative gardening solutions to make your garden flourish.

  • Cutting the eucomis

    Cutting the eucomis

    Called pineapple lily because of the peculiar shape of the inflorescence which looks a bit like this fruit, eucomis is a bulbous plant that can be propagated easily by cuttings from the large lanceolate leaves.

    Material:
    grafting
    box
    gravel
    sand
    potting soil
    sieve
    wooden plank
    watering can

    Advice:
    To speed up the recovery of the cuttings, add a little heat and humidity by covering the box with a transparent plastic cover (mini-greenhouse) or placing it outside, under a frame.

    Good to know:
    The cuttings of the leaves make it possible to multiply a plant in greater number than by simple separation of the bulbils, often few.

    Choosing the right plant

    The eucomis usually multiplies by separating the bulbils that arise around the main bulb. But leaf cuttings also give excellent results. Choose a healthy plant with no visible signs of disease or insect attack.

    Select and cut leaves

    With a grafter, select the best formed leaves. You can prepare your cuttings in two ways either by cutting pieces of leaf of about ten centimeters, or by cutting the leaf along the vein in the longitudinal direction.

    Prepare the box

    In a box, pierced for the flow of the overflow of irrigation water, place a layer of gravel for drainage. Cover with a mixture of finely sifted potting soil and sand, in equal parts. Tamp with a wooden board.

    Wait for the bulbils

    Then, gently, push in your cuttings about 1 cm, pressing down with your fingers to hold them. Water in fine rain. After a few weeks, bulbils will appear at the cut part of the leaf buried in the ground.

  • Dahlia ‘Showntell’

    Dahlia ‘Showntell’

    ‘Showntell’ is one of those few varieties whose luminosity is an irresistible eye-catcher. In fact, it is one of the most remarkable dahlias in the gardens of Clos du Coudray.

    This dahlia produces large cactus flowers with bright orange petals chiseled in gold. Robust, it measures between 90 cm and 1.10 m depending on the richness and nature of the soil. Its color goes wonderfully with perennial plants with yellow flowers such as rudbeckias, solidagos, heleniums, inulas … But also with annuals such as tithonias, ornamental tobaccos with white flowers, marigolds and grasses such as large miscanthus. This flower prefers rich soil and full sun exposure.

    Culture

    All floors are suitable as long as they are not soggy. Choose a location sheltered from the winds, otherwise you will have to stake your plants. Remember, dahlias are greedy! Prepare your soil by bringing in well-rotted compost. To get very large flowers, remove the buttons below the terminal button. In the event of heat or strong drought, water regularly.
    In regions where the ground freezes in winter, dig up the tubers in autumn without washing them and place them in a dry and frost-free room. In other regions with mild winters, it is possible to leave the tubers in the ground if it is not soggy in winter: in this case, cut all the stems low to the ground in November, then spread a layer of dead leaves on the ground. the strains. Place a piece of wire mesh and bricks to maintain this protection.

  • How to plant eranthis: step by step

    How to plant eranthis: step by step

    This plant blooms profusely in the dead of winter, offering beautiful scenes as yellow corollas bloom on snow-covered ground. Perennial, it can remain in place for many years.

    Material: organic manure
    spade claw rake transplanter sieve watering can
    Tip: To get the maximum number of flowers on the eranthis, leave them in place for several years. You will only pull them out when the clump has grown too large. The Eranthis offer a pretty winter flowering.
    Good to know: Eranthis are quite easy to grow. However, preferably place them in a slightly shaded situation in summer.

    Prepare and fertilize the land

    Prepare the soil to receive the Eranthi tubers by plowing about twenty centimeters deep. Remove weed roots and larger stones. Incorporate a very well-decomposed organic manure.

    Scratch and level the ground

    Make several scratches crossing them, so as to finely crumble the soil to a depth of ten centimeters and to mix the organic manure with the original soil. Take advantage of this operation to level the ground with a rake.

    Distribute the healthy tubers

    The tubers must be in good condition, sound and firm. If they are dry, soak them for a day in water to make them swell. Let them drip off. Distribute them over the bed, spacing them about 25 cm apart, without putting them in line.

    Plant the Eranthis

    The establishment is done by burying the tubers of 2 or 3 cm. Use the transplanter to make the planting holes. Then cover them with finely sifted earth. Finish your planting with copious watering, even if the soil is moist.

  • Apricot tree blossom

    Apricot tree blossom

    Apricot blossoms are the edible flowers of the Prunus Armeniaca tree that precede the small, peachy-orange fruits that later develop in the summer. Apricots are members of the Rosaceae family, and classified as a stone fruit alongside plums, cherries, peaches, nectarines and almonds.

    Apricot Health Benefits

    Thanks to their high amount of vitamins, flavonoids, and potassium, apricots have significant health benefits.

    Flavonoids work to protect and strengthen your blood vessels while reducing signs of inflammation. Potassium, an important mineral for nerve and muscle function, is also crucial for helping nutrients move around the body. Plus, it supports healthy blood pressure and heart health.

    Here are a few more health benefits of apricots:

    Skin Protection

    Antioxidants like vitamin E and vitamin C are known for their skin-boosting properties. They can help to protect skin cells from ultraviolet (UV) radiation, reduce signs of early wrinkles, and improve skin elasticity. Beta-carotene is another antioxidant that helps to protect your skin from sunburns and additional UV damage. Since apricots have high water content, they’re also a good way to hydrate your skin. One cup of apricots offers about 2/3 of a cup of water.

    Healthy Vision

    Rich in vitamin A, beta-carotene, and other carotenoids, apricots are excellent for promoting eye health. Lutein helps to support retina and lens health, while carotenoids and vitamin E support overall vision. Apricot nutrients also help to reduce the risk of macular degeneration and cataracts.

    Better Digestion

    Apricots offer plenty of good dietary fiber to help your digestive tract. Their total fiber content is about half soluble fiber and half insoluble fiber. Soluble fiber helps your digestive tract retain enough water and encourages good bacteria to thrive. Insoluble fiber is also good for healthy gut bacteria levels.

    Nutrients per Serving

    One whole, fresh apricot contains:

    •  Calories: 17
    • Protein: Less than 1 gram
    • Fat: 0 grams
    •  Carbohydrates: 4 grams
    • Fiber: 1 gram
    • Sugar: 3 grams
    • Cholesterol: 0 milligrams
    • Sodium: 0 milligrams

    Apricots are low in fat but rich in vitamin A and beta-carotene. These nutrients act as antioxidants to protect your cells from damage.

  • What to do with lily of the valley in a pot after May 1st?

    What to do with lily of the valley in a pot after May 1st?

    Replant the lily of the valley in a pot after the May Day holiday

    On May 1st, lily of the valley is the essential flower to offer. So, allow me to share with you, via Rustica’s blog, a bit of lily of the valley and tips for growing it successfully!

    Lucky bells

    Buds of lily of the valley in the form of bells (Nature and Landscapes) lily of the valley,blossom,bloom,white,flower

    You will find everywhere the ‘French Giant’ or Nantes lily of the valley which is the most widespread variety. This weekend, it will bloom on every street corner. Coming from a rhyzomatous strain called claw, lily of the valley ( Convallaria majalis) is a perennial plant with lustrous green leaves that, always at the same time, produce floral stems enamelled with deliciously scented white bells.

    To plant in the garden

    Do not get rid of the potted plants that you have been offered because they do very well in the ground, in the garden or in a large pot, on the balcony. Plant them in partial shade, in rich and cool soil, or even slightly damp. Lily of the valley is courageous and adapts to competition from other roots, which makes it particularly interesting for covering the ground at the base of trees and shrubs or creating a border along a hedge. After a few years you will get a scented carpet or border as Hubert Fontaine suggests.

    Yellow streaked foliage

    To prolong flowering, which is often short-lived, why not try the variety with yellow streaked foliage? You will find this species under the botanical name of Convallaria majalis ‘Albostriata’ in specialized nurseries. One of them is in Lorraine and offers a range of particularly robust and hardy plants. At its head, Monique Chevry, is passionate about perennials. She multiplies and cultivates classic but also original species like this variegated lily of the valley. Her nursery adjoins a demonstration garden – the Adoué garden – where the plants she cultivates are staged and placed.

  • How to grow daylily ‘Iron Gate Glacier’

    How to grow daylily ‘Iron Gate Glacier’

    Culture sheet: ‘Iron Gate Glacier’ daylily

    I love all daylilies , and I don’t know if it’s their foliage that appeals to me first, or the flower. For ‘Iron Gate glacier’, it’s the flower, that’s for sure! Moon yellow, with a small pale green heart …

    The banded foliage, supple and very dense of these perennials, is interesting from the beginning of spring to the onset of winter, always remaining fresh, whether on the edge, in beds or in pots. In my natural garden, these tufts have their place everywhere… except when they are open. Because the flowers are far from having the aspect of wild ones. But I love them so much that I manage to place them a bit out of the way. I say ‘they’ because, having a collector’s soul, I enjoy myself with this great family. This HUGE family, because if there are only twenty species of daylilies , more than 40,000 varieties have been created!

    Daylily ‘Iron Gate Glacier’

    I fell in love with H. ‘Iron Gate Glacier’ while walking, last year, among the sumptuous collection of Clos de Coudray (76). The very pale yellow flower, tinged with lemon, with a small chartreuse green heart, seemed almost virginal, in the midst of its congeners. I rushed into the nursery, and phew, there were some available.

    The flowers are about 15cm in diameter, and are very lightly scented. They bloom from June to September, in the middle of a tuft of 60 to 65cm high.

    Born in 1971, ‘Iron Gate Glacier’ is as hardy as other daylilies. Very hardy, these perennials live without care: you just have to walk in old abandoned gardens to discover, at the bend of an alley, the perennial orange daylilies, which grow in the middle of the undergrowth. They thrive in any soil, even dry, in the sun or in partial shade. But if the earth is cool, they are all the more beautiful.

    A flower for food lovers

    There is another reason that makes me love daylilies: it’s their flavor and texture! Because, greedy, I cook and eat a lot of flowers. And daylily is my favorite. I sauté the buttons for one or two minutes, which I serve as vegetables. Or else I taste the flower as it is. Each variety has a different taste. And ‘Iron Gate Glacier’ is particularly exquisite.

    Here’s how I’m serving her right now.

    I cut cucumber and tomatoes into tiny dice, after removing the skin and seeds. I add miniature dice of feta, as well as chopped basil. I salt, pepper and tie it all together with a little olive oil. I stuff the daylilies, after having removed the pistil, a little too peppered, with this mixture, and in place three per plate, on a bed of salad of

    As daylily flowers are renewed every day, I have no qualms about picking them as soon as I have guests!

  • Caring for dracaena: step by step for a healthy plant

    Caring for dracaena: step by step for a healthy plant

    Culture and maintenance sheet for Dracaena marginata

    Very aesthetic and easy to grow, dracaena marginata is one of the most popular varieties for indoor plant lovers. It looks like a palm tree, but is not. Its elegant and authentic foliage brings an exotic touch to the decor.

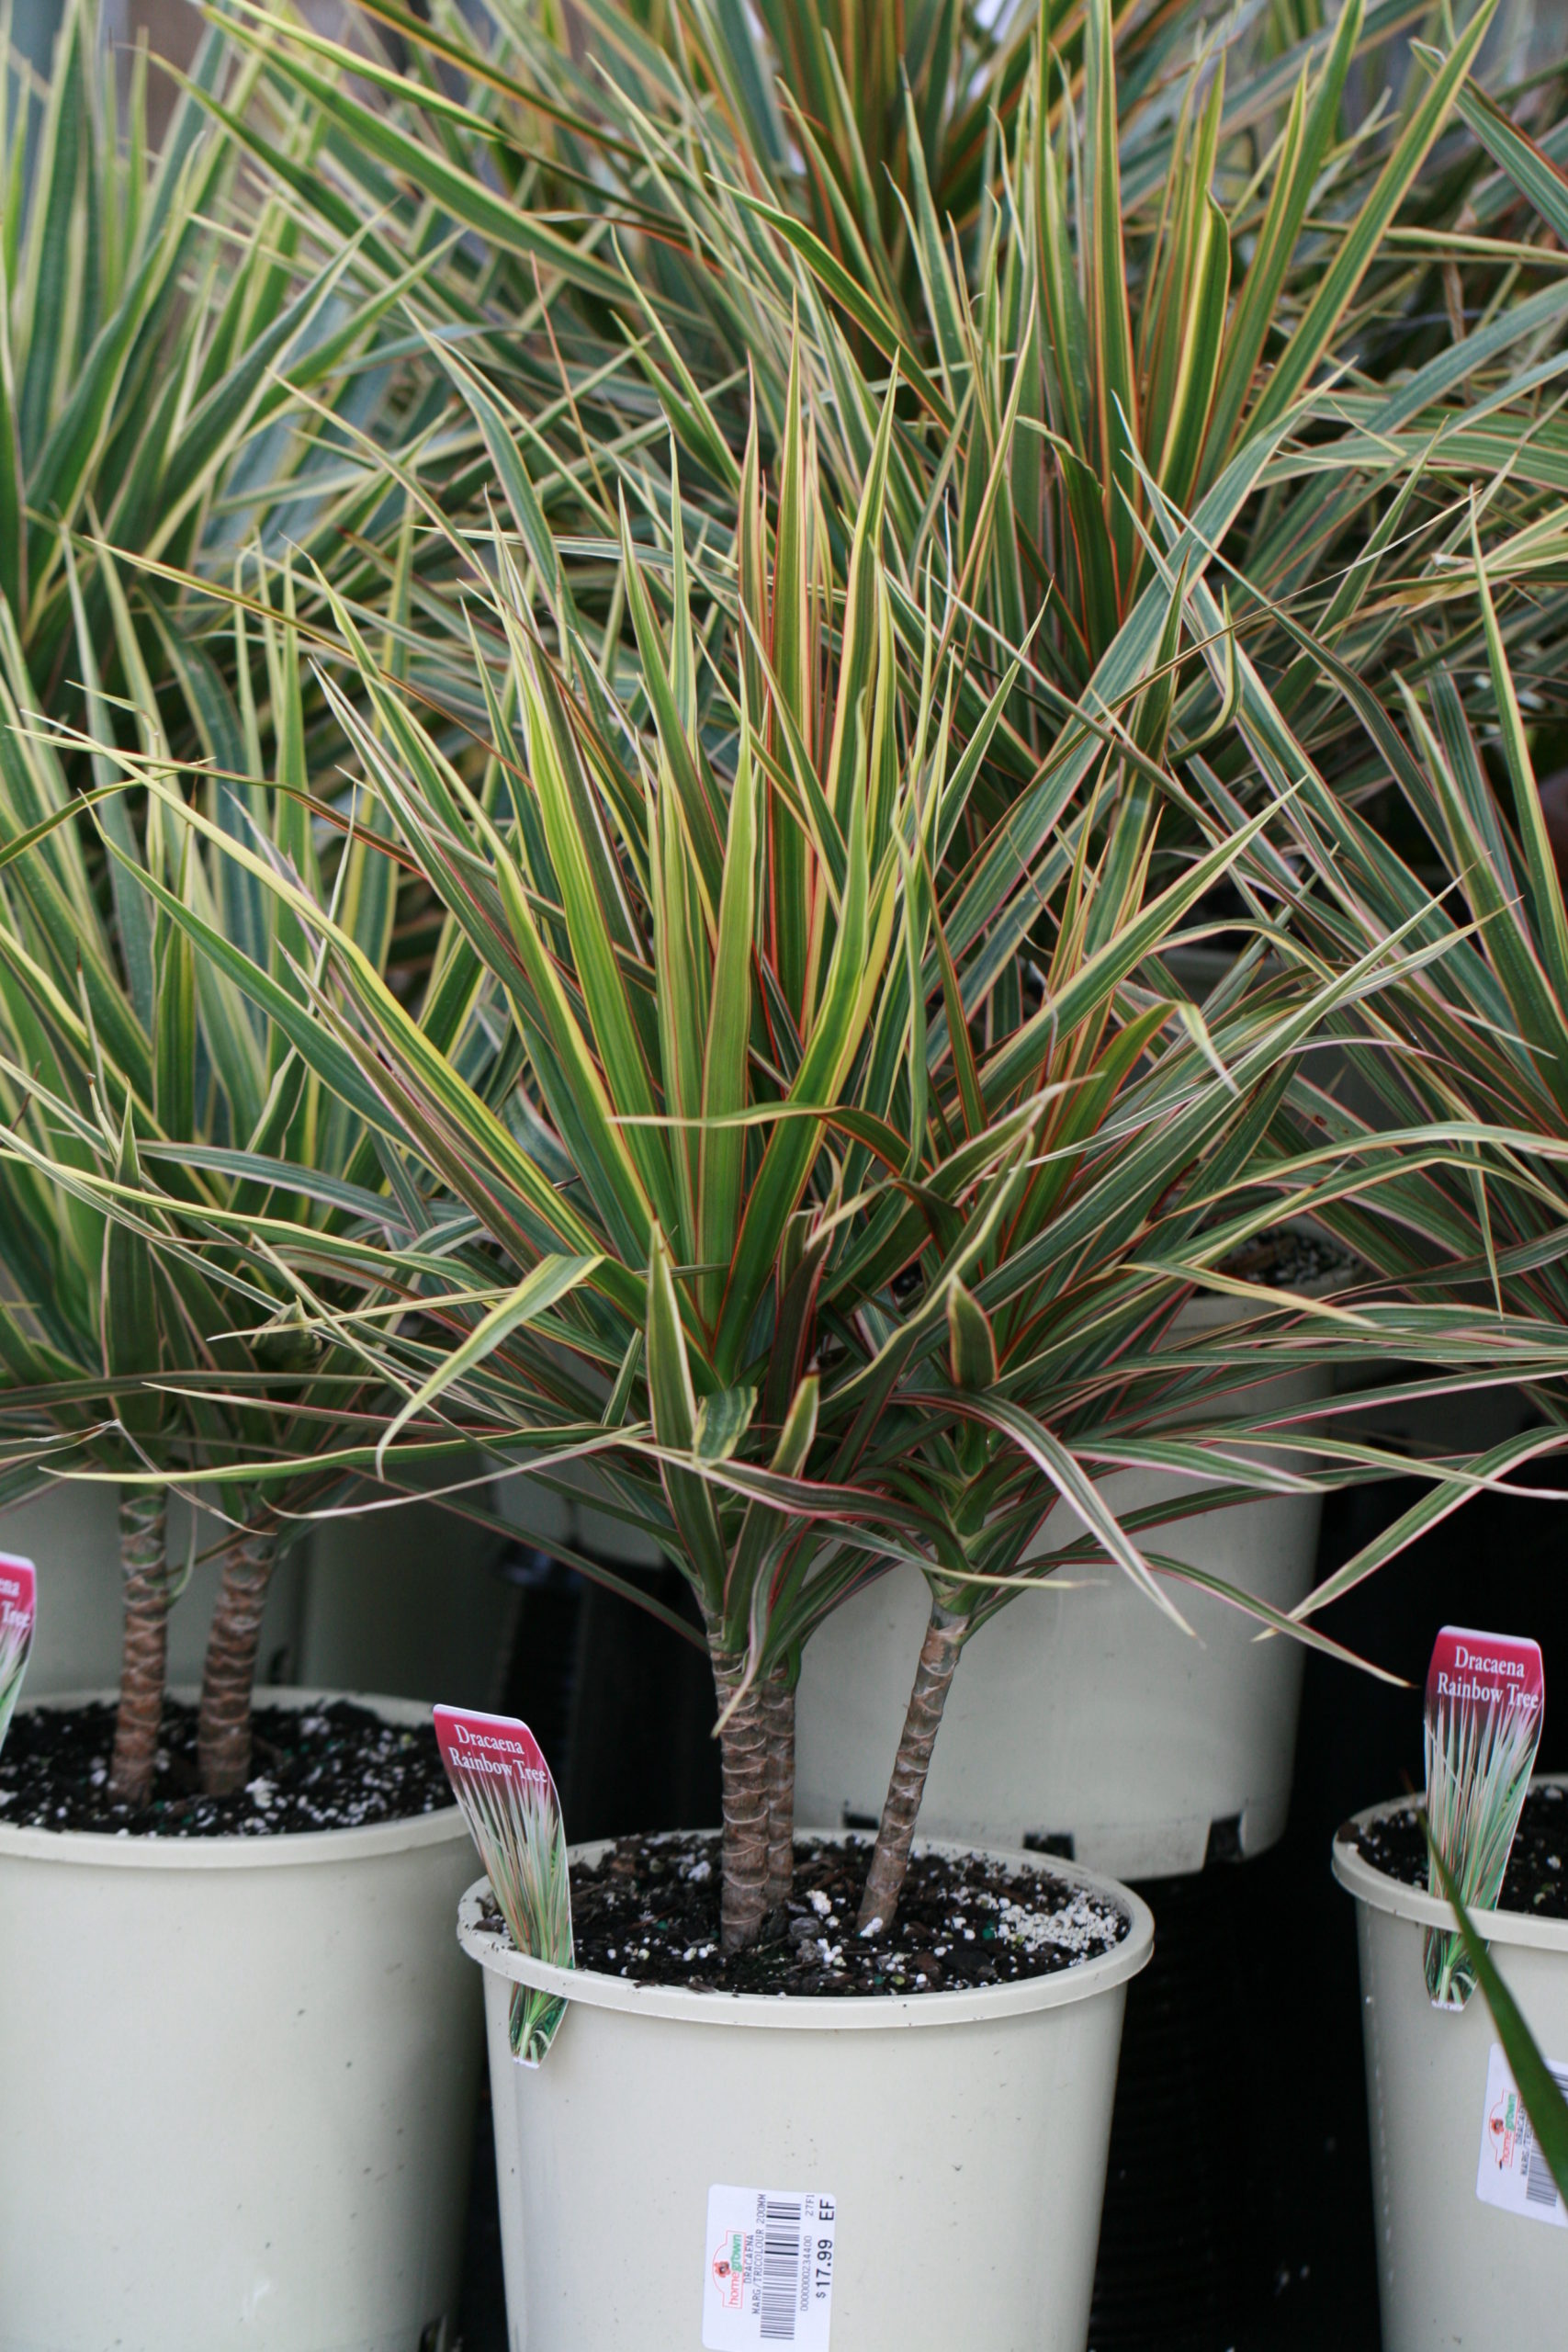
    Dracaena technical sheet

    French name: dragon tree of Madagascar
    Latin name: Dracaena marginata
    Family: agavaceae
    Dimension: 1 to 2 meter high indoors
    Planting: spring
    Exposure: bright Soil: fertile soil Watering:

    • spring / summer: every 4 to 5 days
    • autumn / winter: one to two waterings per month

    How is dracaena marginata cultivated?

    Dracaena marginata grows at temperatures of around 20 and 22 ° C under good light exposure .
    It should be placed near a window facing west or south, as good light is favorable for its growth. Note that this plant, like all green plants, does not survive the absence of light. A rather dark apartment will slow down its growth.

    To plant dracaena marginata in a pot, here are some essential steps to follow:

    – Use special potting soil for green plants.

    – Install a bed of gravel at the bottom of the pot to facilitate drainage and avoid water stagnation at the roots . Small pebbles or clay balls are possible for this task.

    – Bring a pot a little larger than the original one, a size just above.

    – Gently handle the young shoot of dracaena marginata then repot .

    – Water copiously .

    Every 2 to 3 years in the spring, it is a good idea to repot the dracaena marginata to ensure its growth and longevity . Regular surfacing is recommended to meet the plant’s nutrient needs if the pot is already large and repotting is no longer possible.
    In addition, to ensure better health of dracaena marginata indoors, it is recommended not to expose it to a temperature below 10 ° C for a long time.

    As for growing dracaena marginata outdoors, it is only possible in a hot climate . In winter, the dracaena marginata only survives a winter temperature of at least 15 and 16 ° C.

    How to water the dracaena marginata?

    The dracaena requires regular watering to develop fully. Throughout the year, a non-calcareous water spray is also required on its foliage because it requires a good level of humidity in the air. As for its watering, it depends on the season:

    -In spring and summer: the dracaena marginata is in full growth period , regular watering every 4 to 5 days may be necessary. In order not to suffocate or cause root rot, watering should be measured. It is advisable to leave the soil dry on the surface before repeating the operation.

    – In autumn and winter: the needs of the plant are reduced. Nevertheless, it is a good idea to moisten the potting soil if it starts to get dry for a few inches. One to two monthly waterings is sufficient.

    What fertilizer to give to dracaena marginata?

    The Madagascar dragon tree particularly appreciates humidity. As mentioned above, its planting requires the use of a bed of clay or gravel balls and special potting soil for indoor plants. However, to meet its nutritional needs, a supply of fertilizer is necessary to feed the soil.

    During its growth period, a contribution of liquid fertilizer is essential every 15 days. The pot should also be rotated regularly so that the plant grows evenly.
    If any leaves wilt, they should be pruned and the rest of the foliage cleaned with a rag. Note that the fertilizer application must stop between October and April.

    How to cut the dracaena marginata?

    To multiply the Madagascar dragon tree , it is possible to use a cuttings at the base of the mother plant. To do this, follow these steps:

    1. Make a hole at the foot of the dracaena marginata.
    2. Install a biodegradable pot filled with seedling potting soil in the hollow. Note that the transplanting substrate must be light.
    3. Cut a fairly long stem at the level of the first row of leaves.
    4. Remove the other layers of leaves which clutter in order to ensure a better recovery.
    5. Cut out the few remaining leaves (2 or 3).
    6. Plant the cutting in the pot.
    7. Cover the cutting with the substrate.
    8. Spray the leaves, the substrate and the rest of the pot with water.