Juniper trees and shrubs are the backbone of many landscapes. They are famously hardy, drought-tolerant, and offer beautiful, year-round greenery. However, “low-maintenance” doesn’t mean “no-maintenance.” When a juniper starts turning brown, dropping needles, or looking sparse, it’s usually signaling a specific cry for help.
Here is a guide to the most common juniper problems, how to diagnose them, and the steps you can take to nurse your trees back to health.
1. Fungal Diseases (The Needle and Tip Blights)
Fungal infections are among the most common culprits behind a browning juniper. They thrive in wet, humid conditions and crowded planting beds.
Phomopsis Blight
- The Symptoms: New, young growth at the tips of the branches turns light green, then yellow, and finally a reddish-brown before dying. You might see tiny black spots (fungal fruiting bodies) on the dead wood.
- The Cause: Phomopsis juniperovora fungus, which attacks young tissue during warm, wet spring weather.
Kabatina Blight
- The Symptoms: Very similar to Phomopsis, but it targets last year’s growth. The browning usually appears in very early spring before new growth even begins.
- The Cause: Kabatina juniperi fungus, which enters the plant through wounds or winter damage.
How to Fix It:
- Prune the infected areas: Cut away dead or dying twigs several inches below the damaged area. Always dip your pruning shears in a 10% bleach solution or rubbing alcohol between cuts to avoid spreading the fungus.
- Improve air circulation: Thin out crowded branches and clear away weeds or surrounding plants to let air and sunlight penetrate the center of the tree.
- Water smart: Avoid overhead sprinklers. Water at the base of the plant early in the morning so the needles don’t stay wet overnight.
- Fungicides: For severe cases, apply a copper-based fungicide or mancozeb in the spring when new growth emerges.
2. Cedar-Apple Rust
This is a fascinating—but destructive—fungal disease that requires two different host plants to complete its life cycle: a juniper (cedar) and a plant from the apple family (like crabapples or apple trees).
- The Symptoms: In the spring, especially after rain, you will see bizarre, bright orange, gelatinous, alien-like galls (often called “orange goo”) blooming on the juniper branches. In the winter, these look like hard, brown, golf-ball-sized galls.
- The Cause: Gymnosporangium juniperi-virginianae fungus.
How to Fix It:
- Physical removal: Prune out the hard, brown galls during the dormant fall or winter months before they have a chance to bloom and release spores in the spring.
- Host separation: If possible, avoid planting susceptible apple or crabapple trees within a few hundred yards of your junipers.
- Fungicides: While it rarely kills the juniper, you can apply a preventative fungicide in late summer or early fall to protect the tree from spores blowing back from neighboring apple trees.
3. Pests and Infestations
Several tiny critters love to make a meal out of juniper needles and sap.
Spider Mites
- The Symptoms: Needles look dusty, yellowed, or speckled with a dull gray-brown hue. If you look closely, you may see fine, silken webbing wrapped around the twigs.
- The Test: Hold a sheet of white paper under a branch and tap the branch sharply. If tiny specks start crawling around on the paper, you have mites.
Bagworms
- The Symptoms: Defoliation (stripped branches) and the presence of distinctive, cone-shaped bags (about 1 to 2 inches long) hanging from the branches. The bags are made of silk and camouflaged with dead juniper needles.
How to Fix It:
- For Spider Mites: Blast the tree with a strong stream of water from a garden hose to knock them off and destroy their webs. For heavy infestations, spray with insecticidal soap, neem oil, or a specific miticide.
- For Bagworms: If you only have a few, hand-pick them off and drop them into a bucket of soapy water. Do this in the fall or winter before they hatch. For large infestations, spray with Bacillus thuringiensis (Bt) in the late spring when the young caterpillars are actively feeding.
4. Environmental and Cultural Stress
Sometimes, the issue isn’t a bug or a fungus—it’s the environment.
| Problem | Symptoms | The Cause | The Fix |
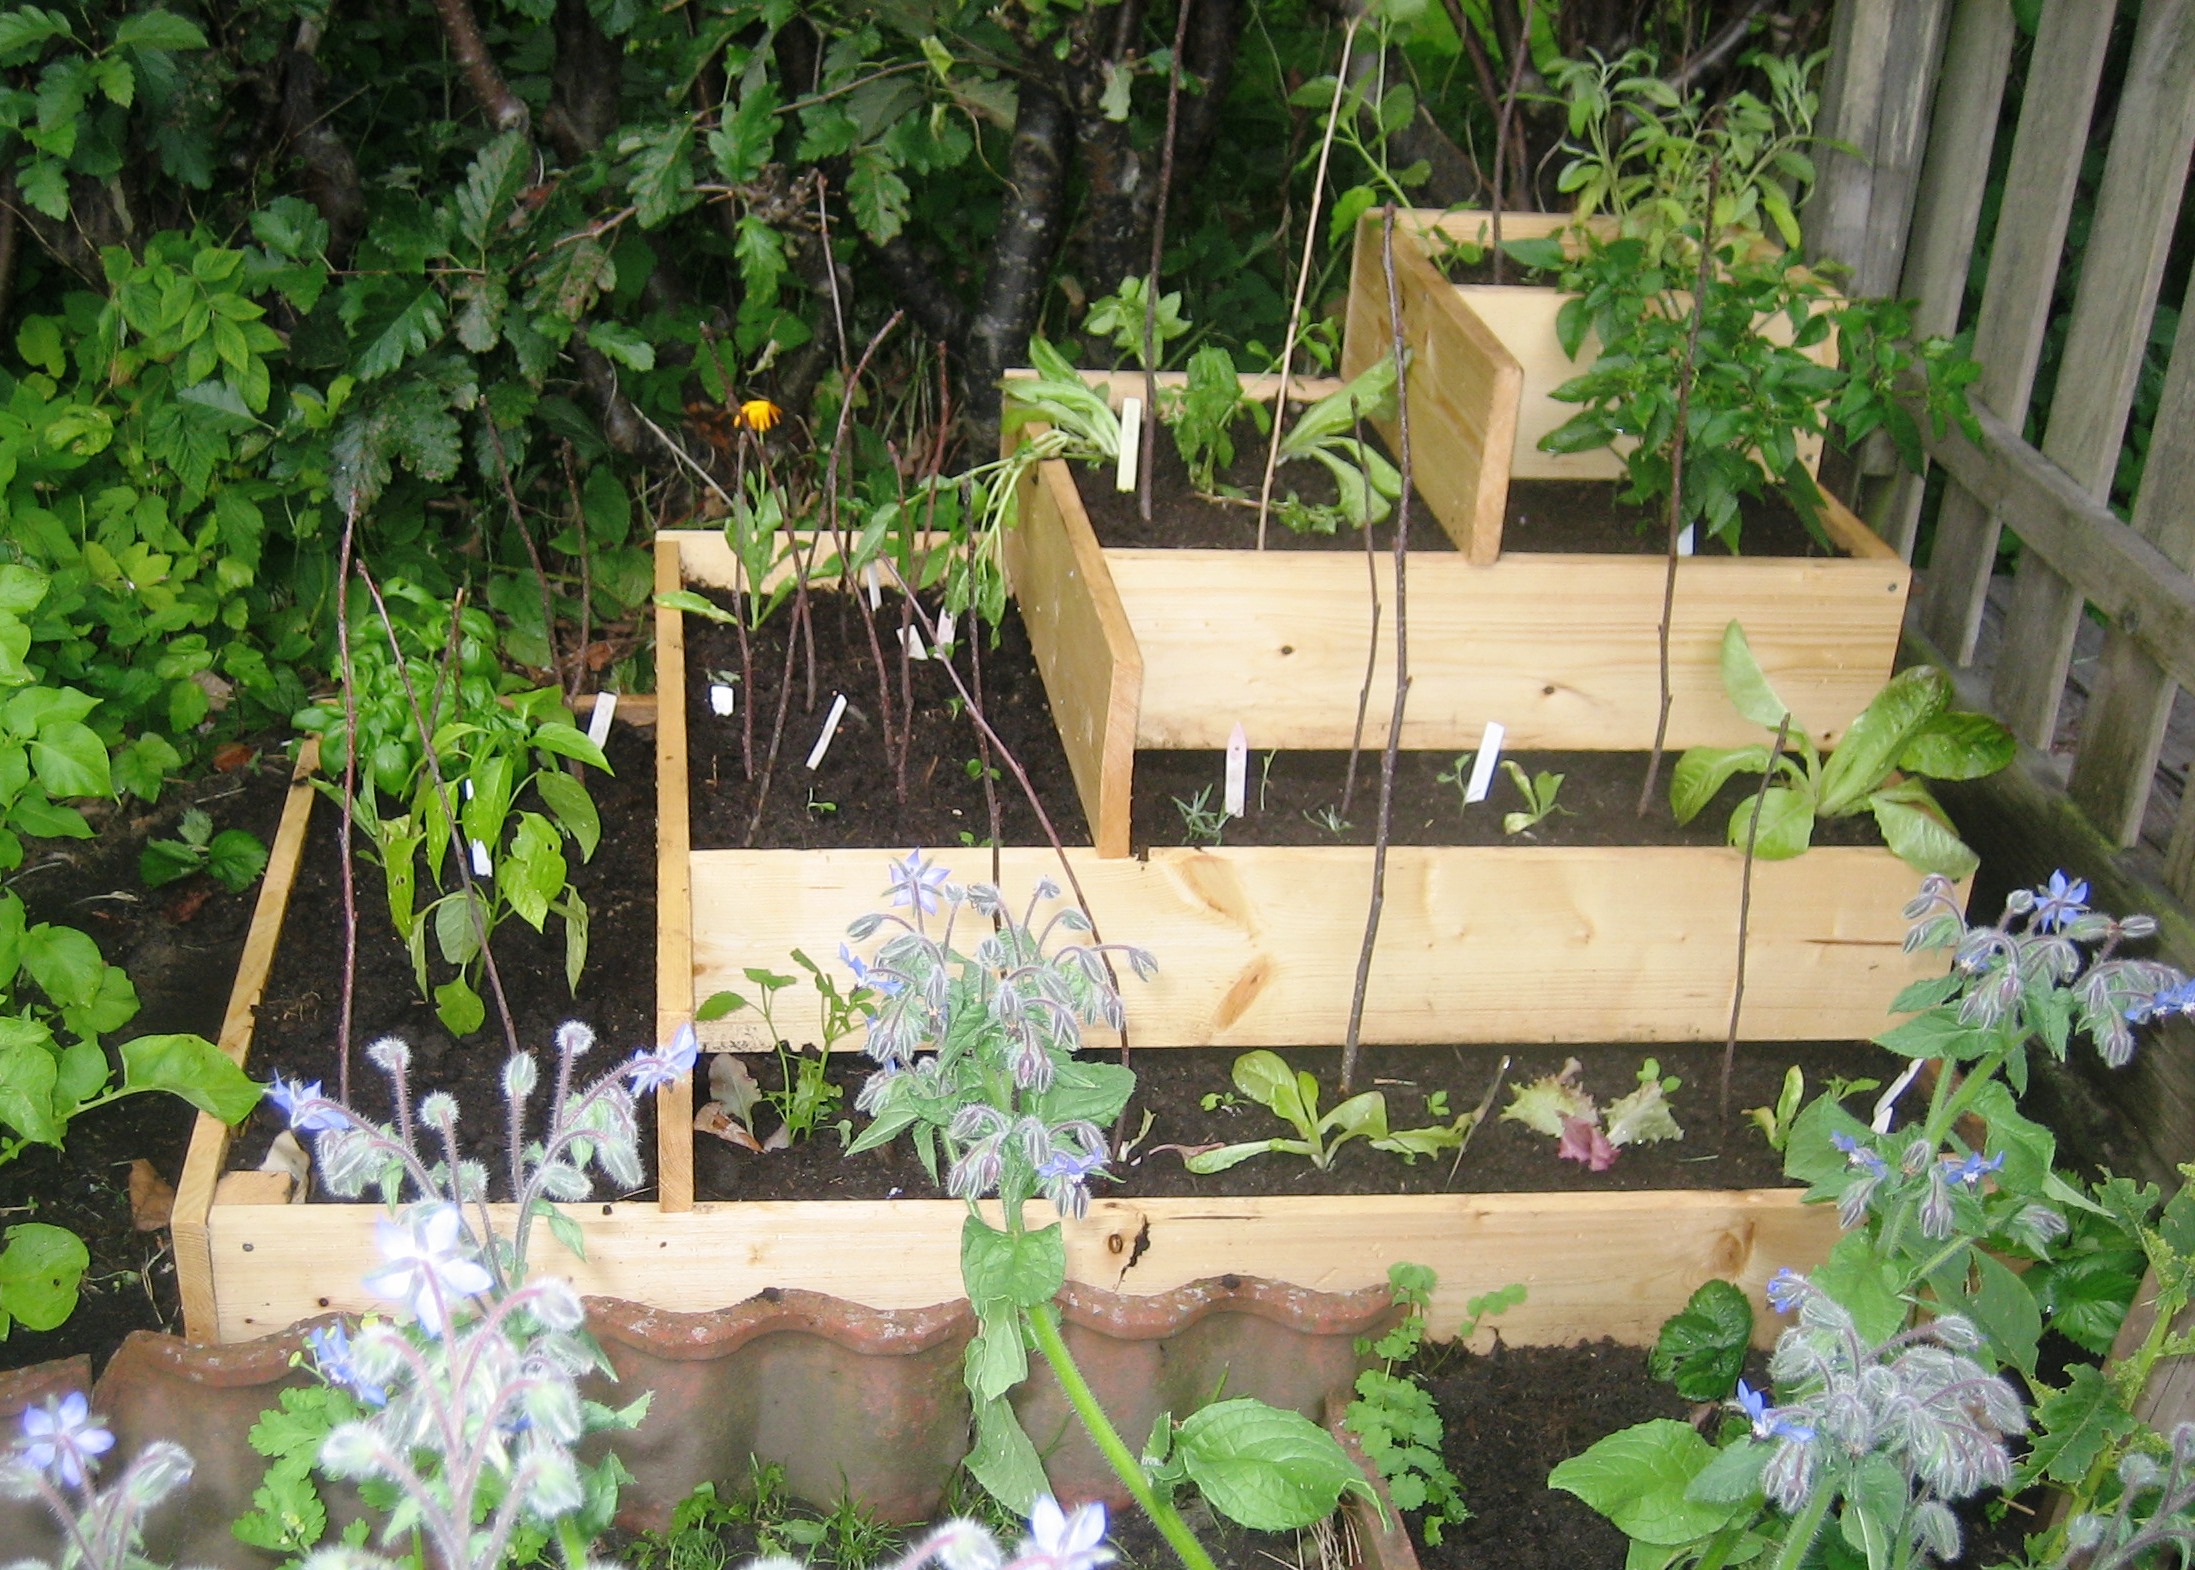
| Overwatering / Root Rot | Inner foliage turns yellow/brown; soil smells sour; entire plant wilts despite wet soil. | Junipers hate wet feet. Heavy clay or poor drainage suffocates roots. | Stop watering immediately. Divert gutters away from the tree. If drainage can’t be fixed, you may need to replant in a raised bed. |
| Winter Browning | Needles on the side facing the wind/sun turn uniform brown or bleached in late winter. | “Winter desiccation.” Cold winds dry out the needles while the frozen ground prevents the roots from absorbing water. | Water the juniper deeply in late autumn before the ground freezes. Erect a burlap barrier to block harsh winter winds. |
| Interior Browning | Deep inside the bush, the needles turn brown and drop, while the outer tips remain green. | This is actually normal! | As the juniper grows, the outer shell blocks light from reaching the interior. Since those inner needles can’t photosynthesize, the tree sheds them. No action needed! |
Quick Prevention Checklist
The best defense is a good offense. Keep your junipers healthy from the start:
- Plant in Full Sun: Junipers need at least 6 hours of direct sunlight daily to stay dense and disease-resistant.
- Don’t Over-Mulch: Keep mulch a few inches away from the actual trunk of the tree to prevent moisture trap and rot.
- Prune Correctly: Never hack a juniper back into the “dead zone” (the brown, needleless interior). Junipers rarely regenerate from old, bare wood. Only prune the green, outer growth.