Category: Gardening

Explore tips, guides, and ideas for all things gardening. From growing beautiful flowers and lush indoor plants to maintaining a thriving vegetable garden, discover practical advice for gardeners of every level. Learn techniques, seasonal care, and innovative gardening solutions to make your garden flourish.

  • Divide a bamboo in a bin to replant it in the garden

    Divide a bamboo in a bin to replant it in the garden

    A bamboo tub divides when the new canes are smaller than the old ones, despite watering and fertilizer applications. This is a sign that the bamboo is getting tighter and tighter in a pot that is too small.

    The division of rhizomes takes place in autumn or spring before the appearance of new spears.
    Water the bamboo copiously to facilitate stripping.
    Start by preparing the planting holes while the tray moistens itself quietly to the heart of the root ball. Previously the ground was covered by a thick layer of BRF (Bois, Raméal, Fragmenté).
    The stripping is delicate because the rhizomes compress the tray preventing the extraction of the bamboo. No need to insist, the risk would be to deteriorate the plant.

    Deposit the bamboo

    Bamboo is grown in a seamless zinc tub. Spread the pot without damage with a chisel to remove the bamboo.
    The roots are very compacted and occupy the entire tank. However, the drainage allowed the bamboo to remain healthy. The roots are healthy.

    Cut the root ball in four

    A handsaw is essential to divide the roots into 4 equal parts. The bamboo can be cut like a cake, starting from the bottom up.
    Bamboos appreciate slow-release organic fertilizers rich in nitrogen. Dry blood is very suitable as a bamboo fertilizer.
    Place one of the 4 parts on the substrate and fill the hole with compost mixed with the extracted soil.
    Pack then water copiously.

    Good to know

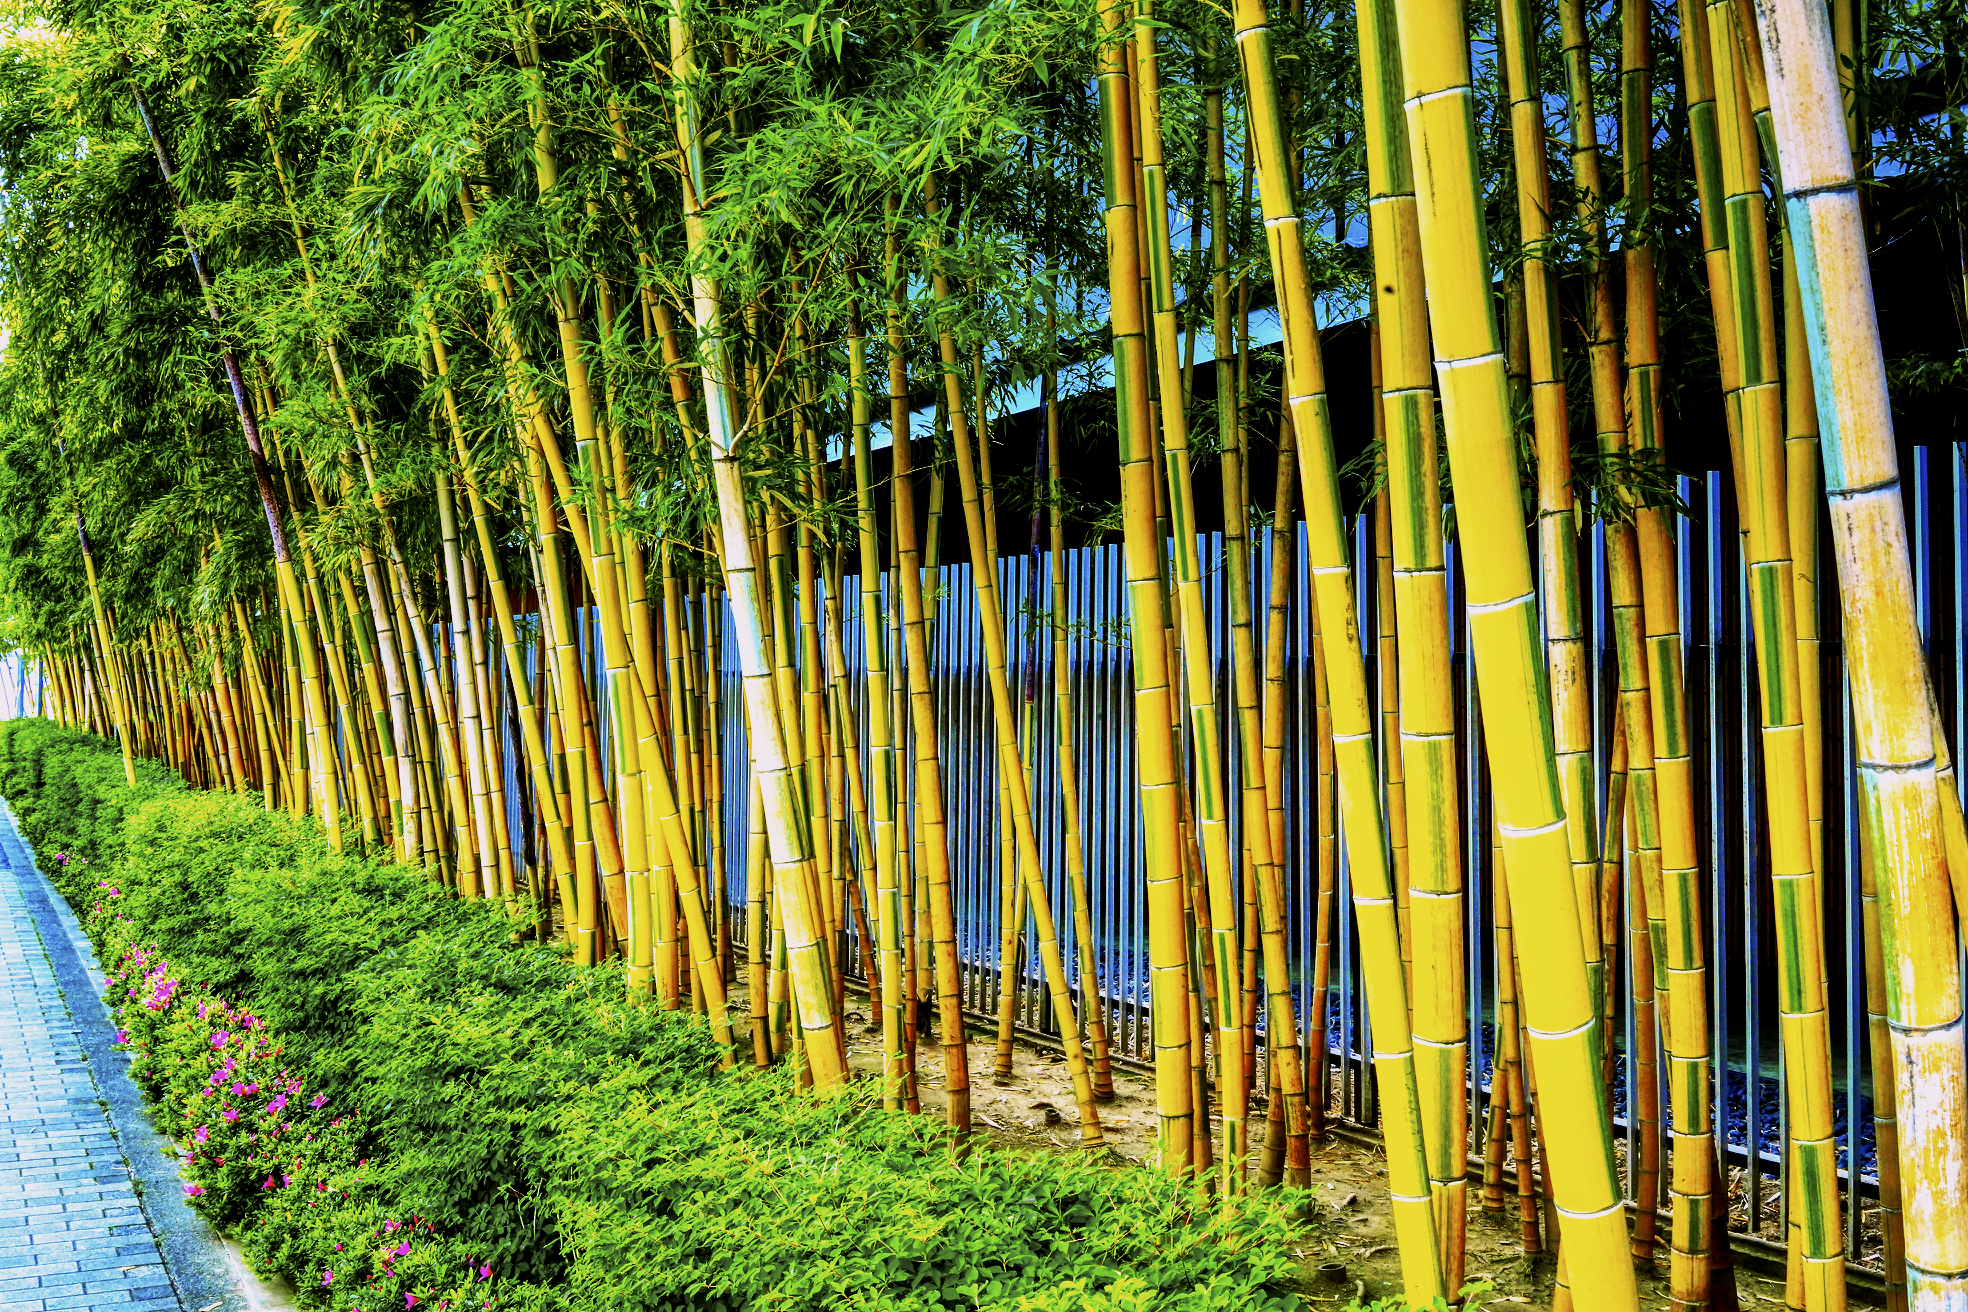
    Here it is largest, a non-tracing bamboo that does not require an anti-rhizome barrier. If in the future the bamboos take up a little too much space, it is possible to divide them and obtain new plans to make a small hedge that is easy to cut.

  • Everything you need to know about bamboo in the garden

    Everything you need to know about bamboo in the garden

    Explanation on the maintenance of a bamboo hedge and the control of the invasive progression of bamboo in the garden. 

    How to prune bamboo to have a very dense hedge?

    It is imperative to prune a tall bamboo hedge only once a year. But for that, it is necessary to wait for the end of the growth of the new canes (leaves appear at the top), otherwise, the operation would have to be started again a few weeks later.

    When the canes are too tight, new bamboo canes grow tall and only leave leaves at the top. This prevents densification of the hedge in its lower part.

    At the end of winter, carry out a thinning pruning :

    • Clear the inside of the clumps, cutting off at ground level the oldest stems that have dried out or those which are more than 4 to 5 years old, but which still bear leaves.
    • This last intervention leaves room for new rods which develop and expand where they have enough light.
    • Complete this cleaning by adding organic nitrogen fertilizer or a layer of ripe compost.

    How to stop the progression of bamboos which threaten the pipes in the garden?

    Removing the bamboo rhizomes is very difficult, especially if it is a Phyllostachys bamboo, very tracing and sinking into the ground. 
    The only solution is to surround the bamboo with an anti-rhizome barrier to protect the pipes from bamboo rhizomes.

    To circle the bamboos: 

    • Dig a 70 cm deep trench to slide in a  non-woven geotextile anti-rhizome barrier, made of 100% polypropylene.
    • Position the canvas along the wall. For information, the bamboo roots turn clockwise: at the junction of the circle, cover one piece of tarpaulin with the other so that the roots do not slip through.
    • It is also possible to bury corrugated sheets vertically.

    To stop the progression of bamboo in the garden, you must: 

    • Break the spears as they come out of the ground. Exhausted, they end up getting discouraged.
    • In addition, repeated passages with the mower slow down their progress.

    For information, beware of voles or mole rats, which feed on the rhizomes. They cut them up and transport the pieces over several meters. Bamboos are then cuttings everywhere. 

  • Culture sheet: miscanthus giganteus, a giant grass

    Culture sheet: miscanthus giganteus, a giant grass

    As imposing as bamboo, but without the inconvenience of sucking, Miscanthus giganteus is a giant grass, ideal for hiding an unsightly place.

    If I knew the existence of this plant, I had never looked into its qualities, before having a wall to hide. A neighboring wall is in the process of being mounted on the edge of the garden. A wall that I was not allowed to invest with a climber, since it did not belong to me. During a stroll in the garden of Lepage Bord de mer (22), in the middle of winter, I took a secret path, a corridor rustling with a thousand thin and gigantic leaves. I took myself to Alice in Wonderland, in the middle of these golden rods reaching up to the sky, almost four meters from the ground.
    When the wall in my garden was finished, I remembered this plant which, after three years, takes its place, without exceeding one square meter on the ground.
     I planted a few shrubs, persistent and deciduous, to brighten up this partition with the seasons, even in winter, and, between each, I installed a base of miscanthus giganteus. Its ears and dry leaves persist throughout the winter. In March or April, I cut back the old stems when the new ones arrive. This tuft is very moving, flexible, and I forget the party wall. The dark green leaves, 25 mm wide, curl, giving the impression of a waterfall when it is windy. In May, I sow volubilis at their feet which cling to them, climb and flower them. I even installed a passion flower which clings to it, flowers and fruits in the middle of these canes. And, in the fall, when the flower spikes form, silvery and pinkish, dancing in the sky.

    Simple to grow

    Very hardy, miscanthus giganteus grows everywhere, in all good soil, where there is sun. Make a 40cm hole in all directions, bring compost to the original soil and plant it after soaking the root ball for a few minutes in a bucket of water. If it can compose a compact hedge to structure the garden – to be spaced every meter in this case -, it nicely dresses a background of massive. I also like it installed in a large pot, on the terrace, where it plays with the wind all the time. We gladly forgive him the two months when the tuft is bare, in March and April, between the time when we cut the old canes and the arrival of new ones.

    Salvage: stakes and mulch

    When you cut the stems in early spring, use them as stakes to hold tall perennials. As for the leaves, they make an excellent mulch in the beds, preventing unwanted grasses from settling.

    Farmers and industry are interested …

    The composition of the fiber makes it possible to manufacture biofuels and biofuels, paper, cardboard, animal litter, composite panels, insulation panels, among others …

  • What are the benefits of reeds in the garden?

    What are the benefits of reeds in the garden?

    Common reed ( Phragmites australis ) also called broom reed, broomstick or marsh reed is a perennial plant that inhabits the shallow waters of ditches, lakes, or ponds. It is found everywhere in humid areas.

    reed culture sheet

    The common reed is part of the Poaceae family formerly called the grass family. Although it is considered an invasive plant, it disappears with the drying up of wetlands.
    According to La Fontaine’s fable The Oak and the Reed, the reed bends but does not break.
    The broom reed is a large plant, 2 to 4 meters in height, with a single upright stem. Its flexible gray-green leaves form a sheath around the stem at the base.
    Its flowers are long panicles of 20 to 30 cm first erect and then tilted after flowering. The purplish-brown ear or spikelet is covered with long silky white hairs.

    How to multiply the reeds?

    Like bamboo, the reed has a root system with rhizomes which is sometimes very invasive. Multiplication is therefore done by division of rhizomes in spring until early summer.
    Choose a sunny and humid location, preferably clayey soil, but the reed can grow anywhere as long as it keeps its feet in the water.

    How to create a reed bed in a water point?

    The creation of a reed bed requires a water rise of 10 cm to 80 cm is necessary for winter.
    In spring, the feet are submerged up to 30 cm in height which stimulates their development. Dry soil during the summer is fine for it as long as the soil remains moist.

    How to maintain a reed bed?

    The stubble is mown flush every other year, from October to January. The extraction of crushed stubble makes it possible to mulch trees and shrubs which then turns into humus.

    Why plant reeds?

    • Reed beds are home to dragonflies, amphibians, fish, birds, and mammals from predators, and more particularly during reproduction.
    • The reeds fight against water pollution in aquatic areas.
    • The roots filter the surface water by self-purification.
    • Some municipalities use reed beds for wastewater treatment.
    • The reed beds serve as spawning grounds for fish and amphibians.  
    • Reeds are used for thatched roofs and serve as thermal insulation and soundproofing.

    What does the law say about reed beds?

    It is forbidden to fill the reed beds with rubble, burn the stubble, or clear them.

  • How to flower a fence with annual climbing flowers

    How to flower a fence with annual climbing flowers

    How to quickly create a privacy screen with annual climbing plants? They are sown in the spring in the ground, develop in summer then die in autumn.

    How to set up a hedge in your gravel yard?

    In a yard stabilized with pebbles, the establishment of a hedge requires digging a deep trench. On the other hand, without damaging the ground, it is possible to create a barrier between the two spaces by unrolling a wire mesh maintained by posts.

    What soil does it take to make a seedbed?

    To sow a hedge, the earth must be composed of topsoil mixed with compost to a thickness of 20 cm. This will make it possible to cultivate ipomeas, nasturtiums, and sweet peas during one season, which are sown in pockets of 3 to 5 seeds from April.

    Flowered wire mesh: sow large-flowered ipomeas, volubilis

    The large, funnel-shaped, very bright flowers of the ipomea volubilis open in the morning and close in the afternoon. They can remain closed during the day in cloudy weather or when the nights are longer than the days (autumn equinox).
    Ipomes have very many thin, twining stems covered with heart-shaped, light green satin leaves. Its large, pure blue flowers are funnel-shaped.
    The many varieties display various colors: sky blue variegated with white, dark red …

    Flowered wire mesh: sow sweet peas

    Annual or perennial, the sweet pea presents twining lianas which are covered with butterfly-flowers in tender colors and some of which have an enchanting scent.
    The sweet peas can climb to over 2 meters. In this category, there is a perennial sweet pea ( Lathyrus latifolius ) which grows again every year in the same place. It blooms from May until July. Its carmine-pink flowers are not fragrant.
    The annual sweet pea ( Lathyrus odoratus ), has fragrant flowers which bloom from May until September, its flowering is longer. It displays various shades of mauve, purple pink, red, purple, blue …

    Flowered wire mesh: sow climbing nasturtium

    At the foot of a fence, prefer climbing nasturtiums ( Tropacolum majus ). Whether dwarf or climbing, nasturtiums always have the same types of flowers with 5 rounded yellow, orange or red petals. Nasturtiums are also used as ground cover.

    How to sow ipomeas under shelter?

    Ipomes, sweet peas and nasturtiums are grown directly in the ground but if you want to obtain an early flowering, the seeds must be sown under a shelter from March by placing as for the pockets, 3 seeds per pot.
    Then the young shoots are planted at the foot of the fence after any risk of frost.

  • FORTIS (Giant Star) clematis

    FORTIS (Giant Star) clematis

    Beautiful climber offering a spectacular and delicately scented bloom, the FORTIS ‘Giant Star’ clematis is the ideal plant to dress a fence, a trellis, or the trunk of an old tree. It literally covers itself with large, pale pink flowers to celebrate spring and its purple foliage further adds to its unmistakable charm.

    Technical sheet

    Type of plant: climbing plant
    Dimensions: 4 m high – 3 m spreading
    Flowering: from April to May
    Exposure: partial shade, sun
    Planting: autumn / spring
    Propagation: cuttings
    Watering: regular
    Hardiness: very good from -15 to -20 ° C.

    Cultivation conditions

    The FORTIS ‘Giant Star’ clematis is a very hardy plant that tolerates negative temperatures down to -20 ° C. This strain, created by Richard Mitchell, a famous New Zealand breeder, is part of the Montana group of clematis known for their vigor and opulent flowering. FORTIS ‘Giant Star’ clematis adapts to all types of soil provided they are well-drained. It does as well in full sun as in partial shade. 

    Planting

    Plant FORTIS ‘Giant Star’ clematis, in autumn or spring in soil previously loosened and amended with compost and a handful of the crushed horn. Choose a semi-shaded location in the south of the country or in full sun everywhere else.
    Dig a 40 cm planting hole in all directions. Install the plant, root ball slightly inclined, and fill the hole with the soil previously prepared.
    Form a small mound of earth around the crown of the plant to prevent wilting and promote the release of vigorous shoots from the base. Place a tile over the root ball, or a potted bush plant that will provide shade at the roots at the base of the plant. Clematis grows well with its feet in the shade and its head in the sun. Fold the stems 30 cm from the base above a bud and start leading them on the support to help them climb.

    Watering

    Water regularly at planting and the following weeks if it does not rain, to ensure a good recovery. In summer, water once or twice a week so that the soil only dries up a few centimeters between two waterings, especially in summer. Be careful, clematis does not tolerate excess water at the roots, always water at a distance of 40 cm from the foot, often but moderately, especially in heavy and clayey soil.

    Fertilizer

    Scrape compost at the base of the plant in fall and February.

    Diseases and pests

    Clematis is sometimes sensitive to wilting of foliage and stems in too heavy or too wet soil. Drain the soil well or plant on a mound and water 40 cm from the base moderately but regularly in summer.

    Cut

    FORTIS ‘Giant Star’ clematis blooms on the stems of the previous year. Prune immediately after flowering.
    Cut any stems that are dead, damaged, or too long to contain this exuberant plant. 

    Use

    The FORTIS ‘Giant Star’ clematis is an ideal plant to hide a fence, an old tree trunk, or to dress a facade with a trellis. It goes well with climbing roses but also with wisteria whose flowering it will prolong.
    It is also possible to cultivate this beautiful climber in a tray on a balcony or a terrace, trellised to a wall or a trellis, or even on the balcony railings.

  • How to grow Mauritanian mallow in the garden?

    How to grow Mauritanian mallow in the garden?

    Most mallows grow near farms, in vacant lots, or in landfills, wherever they find soils rich in nitrates.

    Description of mallow

    It is also called Mauritanian mauve, large mauve, woodland mauve, sylvestre mauve.
    Mallow can be confused with lavatera or hollyhocks. To recognize them, you must examine its flower: it has a pink corolla with 5 indented petals at the edge in the shape of a heart, a calyx with 5 lobes lined with a calicle with 3 leaflets, and numerous stamens united by their net in a mass prominent, 12 stigmas and later 12 carpels arranged in a crown in the fruit.

    Flower vocabulary:

    The corolladesignates the part of the flower formed by all of its petals,The chaliceconsists of all the sepals.Caliclerefers to the leaves, usually green and small in size, which lie between each sepal to form a double calyx to protect the flower.The stigmais the end of a carpel forming the pistil of a flower. The function of the stigma is to capture the pollen.The carpelencloses the eggs. It turns into fruit after fertilization.

    Characteristics of mallow (malva sylvestris)

    The purple of Mauritania, an annual, biennial, and perennial are considered. It can reach 2 meters in height with ivy-shaped leaves. It is often present in the seeds of field flowers.
    Its flowers are honeyed and very attractive to a multitude of insects. They appear from June to September.

    How to cultivate mallow?

    Mallow prefers partial shade at the edge of woods in limestone and clay soils provided they are not too compact.
    It is particularly sensitive to rust which makes its leaves unfit for consumption.
    Mallows are sown directly in place among other field plants from April and bloom in July. The first year the mauves hardly exceed 1 meter in height. It can then reappear in the second and third years as a perennial.
    Sowing in July-August, the mallows do not flower until the following year and present a greater development than the first year.

    Using mallow in cooking

    The dried flowers and leaves are used in medicinal preparations. In cooking, its leaves can be eaten cooked and raw in salads when they are very young. Flowers are decorative and can add color to dishes.

  • How to sow true lavender: the right actions

    How to sow true lavender: the right actions

    Lavandula angustifolia or more simply officinal lavender. Here we will find out how to easily sow it. It should not be confused with lavandin which is a hybrid between true lavender and asp lavender which is reproduced exclusively by cuttings.

    Harvesting lavender seeds in autumn

    The seeds were collected after winter, lodged in the dried inflorescences. In principle, the seeds are harvested in autumn. True lavender hardly exceeds 50 cm in height, while lavandin can climb much higher.

    Sowing in March

    After the harvest, that is, in March, the small black seeds were sown in a bucket filled with a mixture of universal potting soil, garden soil, and a little sand.
    The goal is to obtain a rather lean and light mixture. Never use rich potting soil for lavender seedlings. In March, the sowing was able to take advantage of the heat which favored the emergence of a small part of the seeds.

    Sowing in June

    If you do not have a heated greenhouse, wait until June to sow the lavender seeds, always according to the same principle.
    Emergence can be very long and some seeds can wait an additional year to germinate, which is often the case in nature.

    How to sow your lavender seeds?

    1. Distribute the seeds on the lightly packed substrate.
    2. Cover the seeds with a thin layer of soil.
    3. Pack the seedbed.
    4. Dip the cup to moisten it by capillary action.
    5. Place a small canvas on the seedling to prevent drying out (wintering veil).
    6. Lavenders can take several weeks to germinate so you have to be patient.
    7. Store lavenders in their pot in the heat for at least 1 month if they are not very dense.

    Transplant the lavender

    1. Transplant the young lavenders in pots with a light soil and slightly richer than the soil for seedlings.
    2. Keep the soil moist until the next repotting in a larger pot 12 cm in diameter or plant directly in the ground in full sun. Keep a space of 50 cm between each plant. The ideal is to wait until the following spring before considering a permanent planting.

    True lavender grows above 800 meters in elevation in dry, stony areas and in limestone soil. It tolerates the cold very well when the soil is well-drained. It is the ideal plant to install in a rather dry slope. On the other hand in wet and clayey soil, it will disappear in the first year of culture. True officinal lavender is particularly popular in a raised vegetable patch.

  • How to prune to maintain passionflower?

    How to prune to maintain passionflower?

    The maintenance pruning of passionflower, light, allows to discipline this very growing vine and to clean it from old wood. On the other hand, after a few years, the passionflower becomes important and confused. It must be folded down to refresh it. The operation is also necessary when it freezes.

    When to prune passionflower?

    Always prune the passionflower in spring (March). It flowers mainly on the twigs of the year: pruning allows them to be obtained in large numbers.
    There is no need to intervene during the first years of the plant. Start after about four to five years, then renew annually thereafter.

    How to prune passionflower?

    Tools needed:
    pruning
    shears
    hedge trimmers

    • To prevent the whole from becoming a muddled mass, shorten all the shoots from the previous year (unbranched) to about 20 cm with a secateurs.
    • Remove the weakest among them.
    • If in doubt, or if the plant has been neglected for a long time, “comb” it with a hedge trimmer.
    • Return to normal size the following spring. On very vigorous plants, summer pruning helps to avoid lawlessness. It is enough to cut back by two-thirds the unruly new shoots.
    • After a few years, we must resort to coppicing, as well as in case of frost. A good way is to shorten every three years a third of the carpenters (the diameter of the finger, approximately) to 50-60 cm from the ground.

    When to cut back passionflower?

    Work in the spring (March).

    Necessary material

    • Secateurs ,
    • Shears,
    • Force pruner (delimber).

    How to cut the passionflower?

    For a four-five-year-old plant:

    • Shear the whole plant, like a hedge. It should lose about two-thirds of its thickness and height.
    • With the secateurs, remove at the base the strong branches badly placed.
    • Repeat about every four years.

    For a neglected plant it is impossible to catch with the shears:

    • Cut the carpenters with secateurs at about 1 m from the ground.
    • Eliminate the rest.

    Following a frost:

    • Cut back the carpenters short, to the living wood. Frozen woods are easy to recognize (they turn black very quickly).
  • How to easily cut hyssop in a smothered way?

    How to easily cut hyssop in a smothered way?

    If the hyssop is often cited in holy books, it is sorely lacking in gardens, and yet this small shrub with multiple properties is very decorative with its blue flowers. Presentation of this Mediterranean plant and its multiplication by cuttings.

    The hyssop ‘ Hyssopus officinalis ‘ also called “sacred herb” is an aromatic perennial plant which grows in the rockery of the poor soils of Haute Provence. It is part of the same family as lavender hence its resemblance. She appreciates the limestone and the heat. It is the opposite of heather earth plants. In short, it is a rock garden plant and full sun.

    Flowers and flowering of hyssop

    Smaller than lavender, it could be confused with its spikes of blue-purple flowers that bloom from June to September. Very melliferous, it attracts many useful insects in the garden. Smaller than lavender, it hardly exceeds 30 cm.

    Recognize the leaves and foliage of hyssop

    Hyssop, from the labiate family, has square stems with shiny, lanceolate green leaves whose strong smell is very pleasant. In small quantities, its leaves can flavor salads. Hyssop is used as an infusion to clear the airways.

    How to cut hyssop: step by step

    In the spring I attempted a seedling which turned out to be unsuccessful due to damping-off, a microscopic fungus that decimated the young seedlings. The failure may also be due to too acidic seed soil.
    This time, to make my cuttings I will not fail to use my own substrate with a mixture of sand and a pinch of wood ash.
    Cutting the hyssop:

    1. Fill 10 or 12 cm pots with the substrate.
    2. Water the pots.
    3. Detach the cuttings at the level of a stem.
    4. Gently remove the leaves from the bottom.
    5. Prick the cutting into the wet substrate.
    6. Cover with a clear bottle.
    7. Keep moist until rooting.

    Transplanting the cutting in the garden

    Place the cuttings before the end of summer in well-drained soil, ideally in a raised garden patch. Health
    tip: In infusion, hyssop leaves are beneficial for the bronchi