Blog

  • How to grow the Christmas cactus or Schlumbergera

    How to grow the Christmas cactus or Schlumbergera

    This epiphytic plant in nature – which grows on another plant without parasitizing it – is perfect for flower suspensions.

    Plant: a technical sheet of the Christmas cactus

    Latin name: Schlumbergera truncata
    Flowering: winter flowering, 6 to 8 weeks
    Exposure: strong light without direct sun
    Temperature: 15 to 20 ° C
    Watering: 1 time per week
    Use: Indoor plant, suspension 
    Soil:  light, enriched with coarse sand or soil for cacti Succulent plant /  Cactaceae

    Where to place the Christmas cactus to have a good flowering?

    The good location of the Schlumbergera

    The Christmas cactus is a houseplant for which the ideal location is not easy to find. It does not tolerate temperatures above 20 ° C and below 10 ° C very poorly, and it must be avoided drafts and passage areas. When you’ve found the spot, don’t touch it anymore, as it hates being moved once it starts flowering. On the other hand, it is an easy plant if it finds its place.

    The schlumbergera will thrive outside, in summer, in a shady location and well sheltered from the wind.

    The Easter cactus

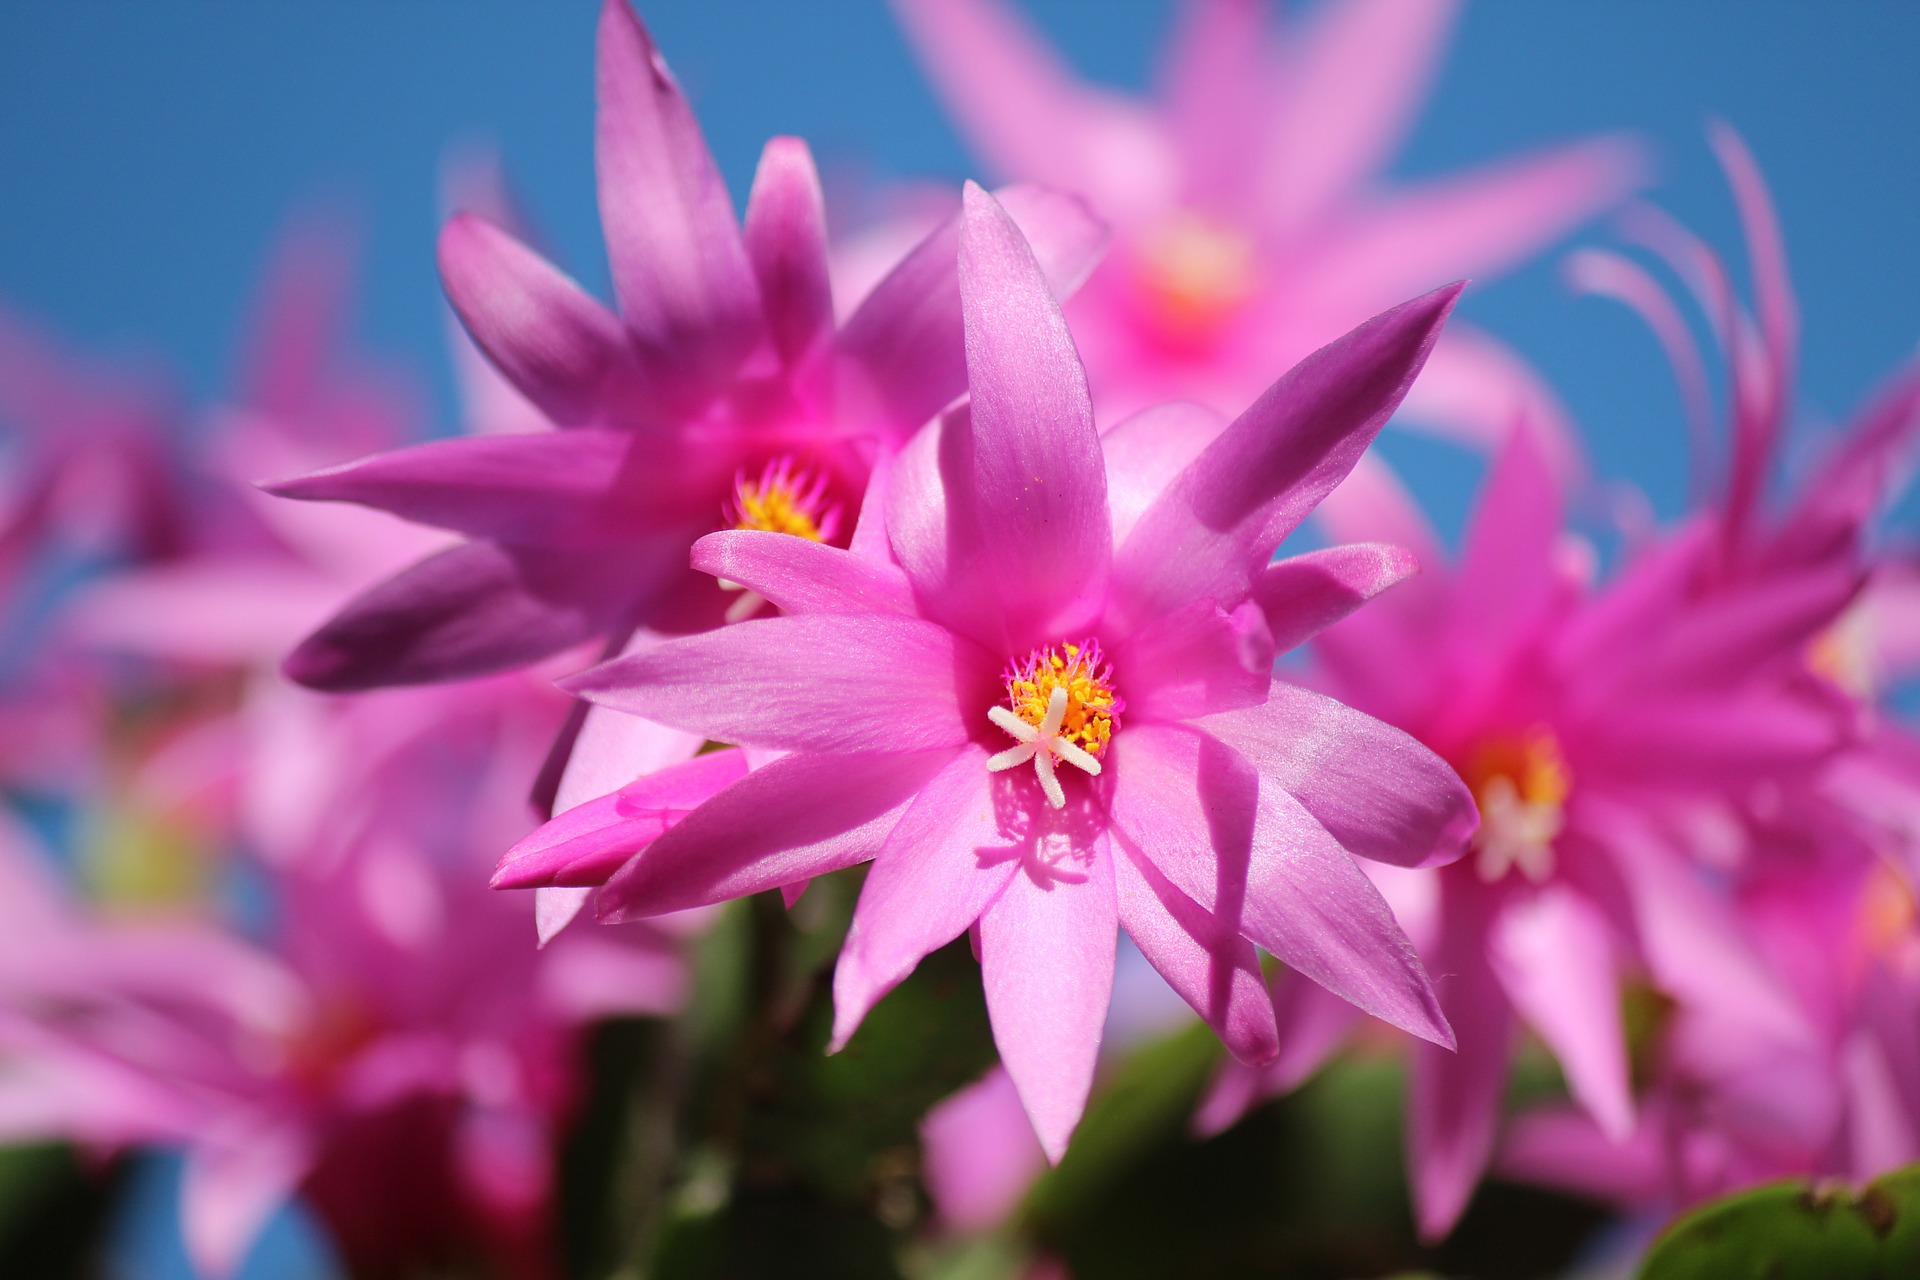
    Easter cacti, species and hybrids of the genus  Hatiora , are other epiphytic cacti with the same cultivation requirements as the Christmas cactus. They bloom in spring in shades of pink, orange or purple. Keep them cool (15 ° C) in winter to stimulate their flowering.

    When and how to water the Christmas cactus?

    One watering per week is sufficient for the Schlumbergera. It must be regular but avoid excess water at all costs. Unlike other cacti, the Christmas cactus appreciates a humid atmosphere, do not hesitate to spray its foliage.

    When and with what fertilizer to fertilize Schlumbergera

    Optional during flowering, a flower plant type fertilizer can be useful between April and September.

    How to bloom again and maintain a Christmas cactus?

    Repotting Schlumbergera

    After the first bloom, if this Schlumbergera seems very cramped in its pot (when the roots are visible around the potting soil), repot the Christmas cactus in a mixture of potting soil, river sand, and garden soil.

    In summer, take the plant out in a shady place, in a tree for example, where it would regain its natural epiphytic position.

    Winterizing the Christmas cactus

    Bring in the Christmas cactus before the first cold.
    To trigger flowering, install your houseplant for two months in a bright and cool room (around 15 ° C), unlit at night so that it enjoys darkness as long as in nature. Almost do not water.
    When the first flower buds appear, return the Schlumbergera to the same conditions as those in which it flowered the previous year. You will keep it that way for fifty years!

    Why do the buds of the Christmas cactus fall off?

    The Christmas cactus blooms again every year, provided it is left to rest for two months before flowering, in a place where it enjoys long nights without lighting.
    Suddenly falling flower buds can be the result of moving the pot or changing exposure during the Schlumbergera flowering period.

    When and how to cut Schlumbergera

    The Christmas cactus is cut at any time of the year, except during flowering.

    • Cut 2 to 4 segments from the ends of the stems.
    • For healing, let dry for a few hours.
    • Prick the cuttings in the same mixture as for repotting.

    The flowers appearing on the stems of the previous year, it is not advisable to take too much.

  • How to plant and maintain caladium

    How to plant and maintain caladium

    This pretty tuberous plant produces stunning, richly colored leaves that it sheds in October. The bulb is then kept in the cellar. The end of winter sees its revegetation.

    Materials needed for planting caladium

    • pot
    • leaf mold
    • blond peat
    • sprayer
    • rainwater

    Tip:
    Caladium is a plant whose colors stay vivid in soft light. So place your pot behind a curtain so that the leaves do not receive direct sunlight. The plant is also afraid of drafts.

    Good to know:
    Do not keep your tubers too long. Replace them every three or four years to keep plants with lively foliage.

    Check the tubers

    If you have kept tubers from the previous year, check their health status. They should be firm and free from all traces of the disease.
    Get rid of their dry or damaged envelopes. Only retain those with a bud.

    Prepare a pot

    • Take a pot at least 20 cm in diameter.
    • Place a shard over the water drain hole.
    • Fill with a mixture of equal parts of peat moss and sifted leaf soil.
    • Add a little crushed bark to lighten everything.

    Plant the tubers

    • Plant two or three tubers.
    • Cover them with a little potting soil.
    • Tamp lightly.
    • Sprinkle in fine rain, with non-calcareous water, previously stored at room temperature.

    Place the pot in the heat

    • Install the pot near a heat source. It needs a minimum of 22 to 24 ° C for the vegetation to start.

    The top of a radiator is ideal.

    • Make sure to keep the soil always moist, but without exaggeration, because fearing excess water, the tubers will rot quickly.

    Fertilization

    Add half a dose of liquid green plant fertilizer every two weeks, from May to September.

    Watering

    Adjust water to the development of the leaves: very little in spring, plentiful in summer, reduced in autumn, and none in winter. Place the pot in a saucer filled with wet clay balls. Maintain 2 cm of water, never spray the leaves.

    Gardener’s advice

    Appreciated for its large leaves tinged with green, pink, red, and cream,  caladium grows best exposed to the west in subdued light. It fears direct sunlight, but too much shade makes its colors fade. He does not like drafts. A veranda, less dry than an apartment, suits him well.
    The deciduous leaves fall in autumn, then it is time to put caladium to rest for the winter.

  • Dipladenia Bella (Mandevillea x sanderi): advice on growing

    Dipladenia Bella (Mandevillea x sanderi): advice on growing

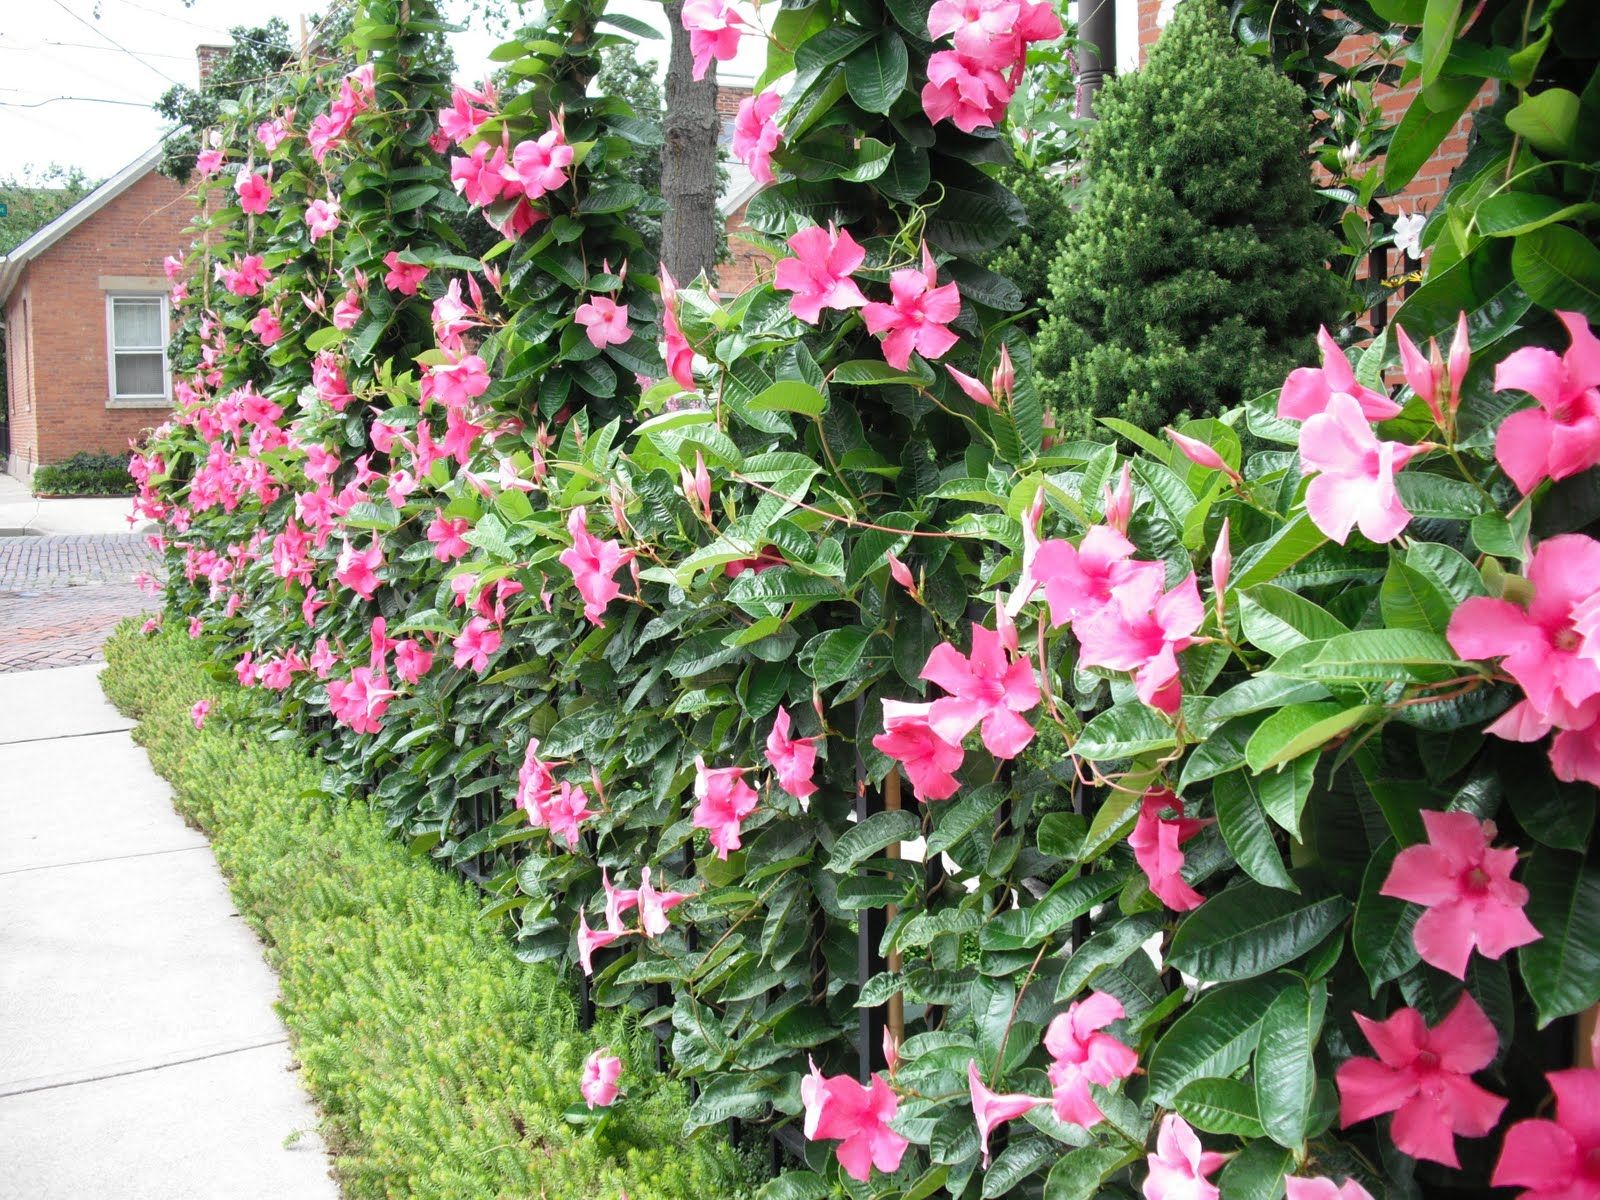
    Easy to grow, requiring only limited maintenance, the cultivars of the ‘Bella’ series offer their exceptional blooms throughout the beautiful season. In a compact version to decorate a balcony, this plant also finds its place to decorate trellises and pergolas in its climbing version. Something to satisfy all gardeners!

    Characteristics

    Soil: drained, rather dry
    Spread: 50 cm
    Planting: in May
    Flowering: from May to October
    Exposure: sun
    Use: open ground and pot
    Height: 35 to 1.20 cm depending on the variety

    Culture

    The new dipladénias of the ‘Bella’ series have been selected for their extraordinary floridity. Covering themselves with star flowers, these new varieties, very appreciated for their generous development, are declined from white with ‘White’, to pink with ‘Pink’ and ‘Pink Star’ a little darker and marked by a pale pink star in its heart, passing through red with the sumptuous ‘Red Compact’. The latter presents an ideal bushy habit in pots, while the other cultivars are more talkative and can be trained along a wall on a trellis. Easy to grow, requiring only limited maintenance, the dipladénias of the ‘Bella’ series ensure the show from May to October without weakening!

    • Wait until all risks of frost have been ruled out in the spring to plant the dipladenia ‘Bella’ because it is cold. Moreover, it can only be grown in the ground in regions with very mild winters. In the ground, it appreciates a light, well-drained soil and full sun to flower well. In the southernmost regions, it tolerates partial shade at the hottest hours of the day, especially when grown along a south-facing facade.
    • For planting in the ground, soak the root ball in a basin of water for half an hour. Meanwhile, dig a hole twice the size of the root ball in all directions. Pour at the bottom a mixture of sand and decomposed compost then install the dipladénia so that its collar is flush with the surface of the soil. Fill the hole and tamp the base of the plant before watering copiously. In soil, the waterings will be regular the time to ensure the recovery, then let dry the soil on the surface between two waterings.
    • In pots, choose a container pierced at the bottom to ensure water drainage. Make a layer of clay balls, then fill the pot with a mixture of potting soil and river sand to which a handful of dried blood will have been added. Install the plant in the pot before filling the gaps with this substrate. Pack and water. This plant does not require very much water, however, in a pot, the substrate dries very quickly. During the beautiful season, water when the mixture dries on the surface on 3 cm and never leave water in the cup. Add liquid fertilizer ‘Special flowering plants’ every 15 days to support flowering.
    • Not very hardy, dipladenia can only be grown in the ground all year round in regions where frost does not prevail, elsewhere it is necessary to winter it in a frost-free room. In this case, it will only be watered when the substrate is almost completely dry.

    Use

    The dipladenia ‘Bella’ offers a multitude of possibilities both in the garden and on a terrace or balcony. The variety ‘Red compact’, very resistant to the scorching sun and presenting a stocky habit (35 cm in height) finds its place in a pot on a balcony or a terrace, or even in suspension in the company of annuals. The varieties ‘White’, ‘Pink’ and ‘Pink Star’, more talkative (1.50m), will be trained along a facade, a pergola, or a fence.

  • Sowing catnip: tips and method

    Sowing catnip: tips and method

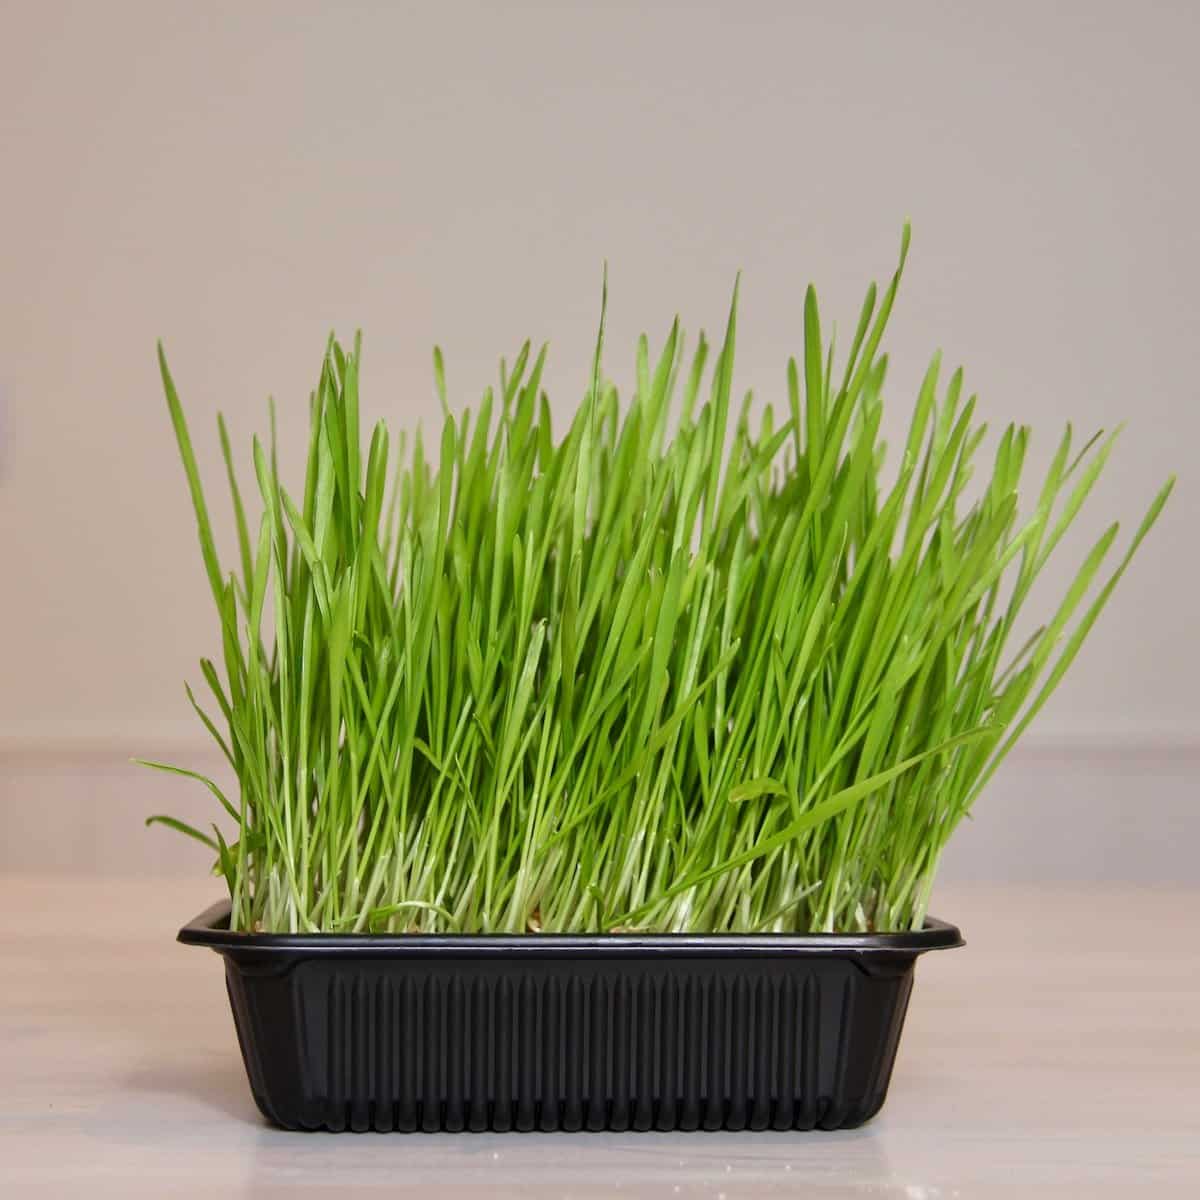
    Although cats are carnivorous, they also nibble on plants to eliminate hairballs when they vomit. But be careful in an enclosed space, the cat can attack green plants, which is a danger to its health. To guard against it, we explain to you how to sow plants called “catnip” made from grasses which will allow it to regurgitate without danger.

    What are catnip?

    Different kinds of grasses can be planted in the garden as well as indoors. These catnip are young shoots of wheat, barley, or oats.

    How to sow catnip

    1. Choose a deep enough container filled with universal potting soil.
    2. Broadcast seeds or one by one.
    3. Water copiously.
    4. Install the pot in heat and light.
    5. The grains rise very quickly.
    6. Place catnip on the windowsill or outside.
    7. Show catnip only when it is well developed.
    8. Renew the sowing every week to have fresh herbs available at all times.
  • Flowery compositions

    Flowery compositions

    If the pots and planters composed in May always bloom in mid-August, they run out of steam. Do not neglect the few actions required which will ensure a beautiful flowering until the first frosts, or even more!

    Dahlia

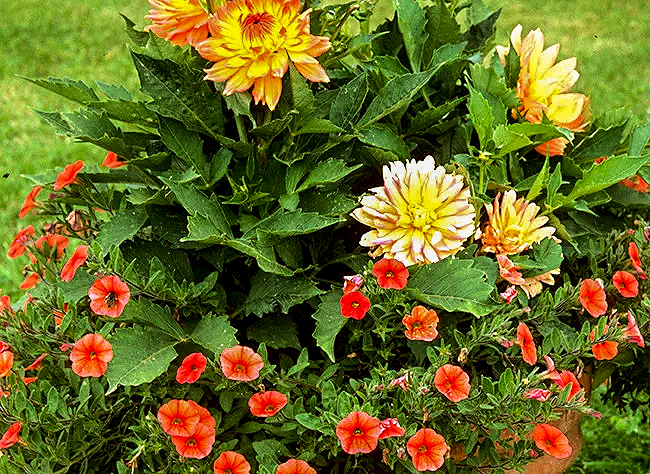
    The dahlias dwarfs are perfectly adapted to growing in pots or planters. In mid-August, surface the pot over 1 cm, scraping the substrate with a fork, and fill with compost while continuing watering – the soil must remain cool – and add liquid fertilizer every day. 15 days.
    Remove faded flowers to cause new flower buds to appear and prolong flowering.

    Calibrachoa

    The calibrachoas, with their countless small flowers of petunias they are close to, will bloom until November if they receive a boost.
    No need for daily cleaning, with faded flowers falling off on their own. On the other hand, a small size, in the middle of summer, will help them to branch out and flower more beautifully. Bend off each stem by a third. Continue watering, without forgetting the fertilizer, every week, for these greedy ones.

    Diascia

    The diascias are covered with flowers from early summer, but they begin to tire. To continue flowering for the next three months, cut the clumps in half. In order not to thin out the pots all at once, stagger the cuts: one foot this week, another next week.
    Continue watering – the soil should stay cool, but not soggy – and add fertilizer every two weeks.

  • Culture sheet: black bamboo (Phyllostachys nigra)

    Culture sheet: black bamboo (Phyllostachys nigra)

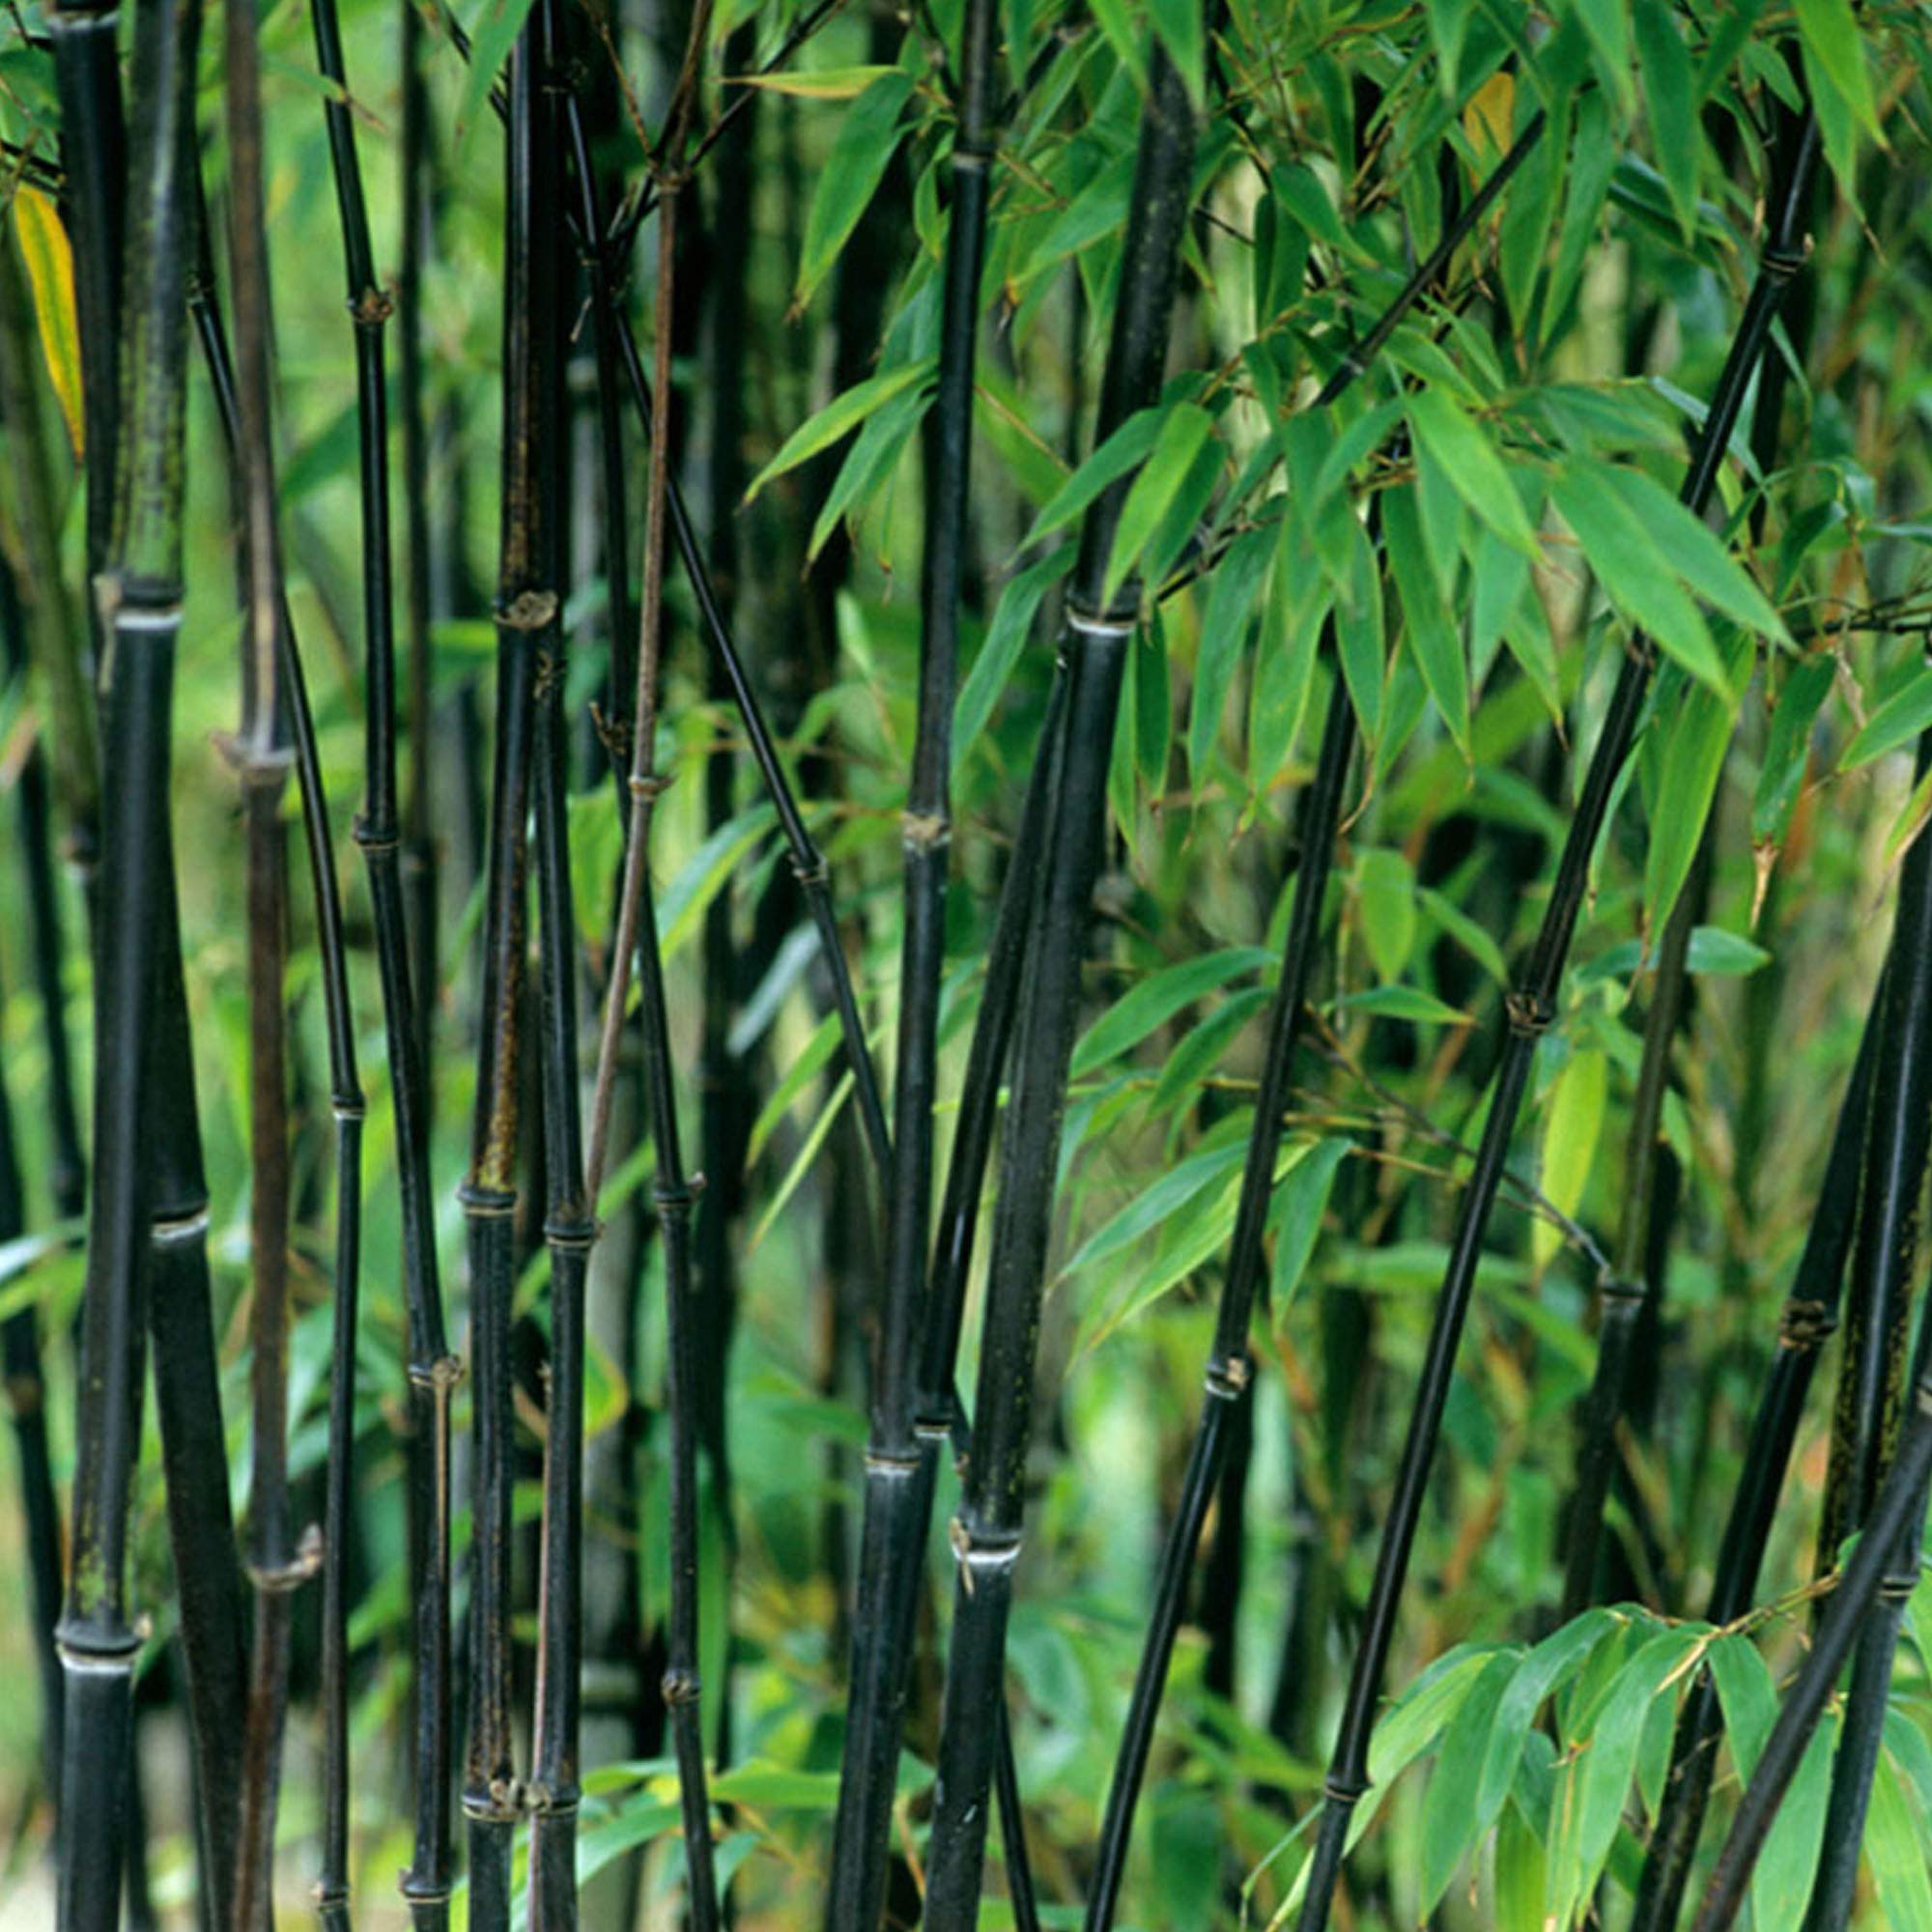
    In a hedge in the garden or on a pot terrace, its black canes and fine foliage bring a touch of exoticism. Black bamboo ( Phyllostachys nigra ) is not very cautious and can therefore be grown in many regions.

    Fast-growing, this medium-sized bamboo ( Phyllostachys nigra ) reaches 6 to 8 m in height in our climates. It’s fine, tight culms form a thick screen quite quickly. Olive green when it emerges from the ground, it gradually turns shiny black. Its fine foliage, of glossy dark green, very dense from the base to the top of the canes, persists in winter. Its rhizomes are not very invasive in heavy soils.

    Technical sheet

    Situation: rustic down to -20 ° C. The wind dries up the foliage from -10 ° C.
    Exposure: sunny or slightly shaded and sheltered from strong winds.
    Soil: ordinary, rich in organic matter.
    Family: Poacea.

    Planting

    In isolated tuft or in the hedge, spacing the feet from 1.50 to 2 m, associated with other bamboos with colored canes. It supports cultivation in containers placed outside or on a veranda.

    Interview

    If it snows, shake off the heavy stubble. Wait until the end of summer or fall to install it in the ground, surrounding it with an anti-rhizome barrier. Straw the footwell to protect the roots from the cold. It multiplies by dividing its rhizomes at the end of winter. Bring water in dry weather in all seasons.

    Variety

    The variety ‘Boryana’ is even more astonishing than the others with its glaucous green culms speckled with brown like a panther skin. She is also much more vigorous.

  • Fern cultivation and maintenance sheet

    Fern cultivation and maintenance sheet

    In the undergrowth, in the massifs where they spread out their fronds but also in the rockeries, the crevices of low walls, pavements, on the edge of water features … ferns are so diverse that they can settle in all kinds of places. corners of the garden.

    Culture sheet

    Hardiness: up to -20 ° C and more
    Exposure: shade, partial shade
    Soil: preferably cool and without limestone
    Height: 40 cm to 2 m
    Use: undergrowth, clump, rockery, pot
    Soil:  ordinary, lightened ‘a little peat

    Varieties

    Capillary

    Adiantum pedatum
    Height: 40 to 60 cm

    The light green foliage of this fern contrasts with its dark brown stems; it turns nicely pink and orange in autumn. More than any other species, it needs to be cultivated in a sheltered place, without strong variations in temperature and humidity.

    To cultivate at the foot of a wall, in the rockery, in the undergrowth.

    Deer tongue

    Asplenium scolopendrium
    Height: 40 to 60 cm

    Persistent, smooth, and entire fronds, glazed, elongated (60 cm long and 6 cm wide), light green in color. We often see them flourish in the interstices of old walls or old stairs, inside wells. To be sheltered from the wind, in rich soil, even limestone. Remove the old fronds in the spring.

    – ‘Cristatum’: 30 to 40 cm, fronds with very curly edges.

    – ‘Undulatum’: 40 to 50 cm, leaves with wavy edges.

    Doradilla

    Asplenium trichomanes
    Height: 15 to 20 cm

    This wild plant (it grows in stony and cool areas) forms small tufts with numerous and persistent fronds. The almost black rachis bring out the green leaves illuminated with bronze reflections. For shade or partial shade.

    Female fern

    Athyrium filix-femina
    Height: 80 cm to 1 m

    Deciduous, light green, indented foliage with a spreading habit. Prefers moist soils, but adapts to ordinary soil, provided it is rich and well-drained. Excellent ground cover.

    – ‘Victoriae’: named in honor of the famous Queen of England, this fern with an upright habit is distinguished by the “v” formed by the pinnae at their end.Athyrium niponicum Metallicum
    Height: 40 to 70 cm

    This magnificent fern charms with its fronds of light gray-green, adorned with a central silver band and bronze or pink vein. In sheltered and shaded massif.Blechnum spicant
    Height: 30 to 50 cm

    This fern is distinguished by its foliage which presents two distinct aspects. It first forms a large cushion of narrow, leathery, and persistent fronds, dark green in color. Then, in the center of this tuft, appear in summer other erect fronds, of a bronze-green, with very fine pinnae. For shaded slopes, fresh rockeries, in limestone-free soil.Cyrtomium falcatum
    Height: 50 to 60 cm

    With their elongated and curved pinnae in the shape of a scythe, the erect but supple fronds of this fern of Japanese origin have a shape reminiscent of mahonia leaves. For limestone-free, shaded, rich, cool, but well-drained soils. This plant is little or not hardy: it can sometimes resist down to -7 ° C, provided it is protected by a thick litter of dry leaves, a wintering veil …

    Male fern

    Dryopteris filix-mas
    Height: 1 to 1.20 m

    Here is the fern of our undergrowth, with large and long dark green fronds, paler undersides, and rachis covered with brown down. This foliage, which turns yellow, is deciduous but can persist in a mild climate. Accepts almost any soil and resists drought well when set up.

    – ‘Linearis polydactyla’: 70 cm, a real curiosity with these pinnules resembling needles.

    Fern from Germany

    Matteuccia struthiopteris
    Height: 80 cm

    The fronds of this species form a characteristic, very narrow funnel with erect tufts. It can form large colonies thanks to its runners. To be installed in rich, cool to humid soil, or even temporarily flooded.Onoclea Sensitis
    Height: 60 to 80 cm

    Tussock erected with deciduous, light green fronds, taking on beautiful coppery hues in the fall.

    To be placed in the undergrowth or at the edge of water features. Indeed, this fern likes cool, humid, or even seriously flooded soils: it continues to grow even under 5 to 10 cm of water!

    Royal fern

    Osmunda regalis
    Height: 1.20 m

    Certainly the most vigorous of the ferns growing in the gardens! A superb erect tuft of deciduous light green to ash green fronds, with broad divisions. Magnificent bronze color in autumn. Here is the fern to install, isolated, at the water’s edge, both in the shade and in the sun.

    Note: it tolerates temporary drought.

    Culture

    Ferns are easy to grow and require little care when set up. In general, they prefer cool but well-drained, rich, and acidic soils. However, many also adapt to ordinary soil if it is cool enough. Many species accept the dense shade. To multiply them, separate the suckers from the rhizomatous species. Sowing in a box, in spring, gives good results: to be tested.

    Never direct sunlight, which burns the tender leaves of the ferns. Otherwise, they accept a fairly bright light as well as a shadow. Variegated forms are a little more demanding in terms of light.

    A fairly cool temperature in winter (15-18 ° C) is perfect for these delicate plants.

    Watering ferns

    How to water them?

    Ferns require generous watering so that the soil remains slightly moist at all times. However, avoid stagnant humidity, which can cause rots. During the beautiful season, add liquid fertilizer diluted by half every 15 days. Make sure to maintain high humidity around these plants, which mostly originate from tropical rainforests.

    When to report them?

    In the spring, when the clump has colonized the whole pot, in ordinary potting soil enriched with peat.

    Immersion watering

    Immerse the jar or suspension in a bowl of fresh, lukewarm water once a week. Also, make frequent sprays.

    Trick

    Group the ferns and create a humid atmosphere that will be beneficial to them: place the pots in a large peat tank to keep them slightly damp at all times.

    Depolluting virtues

    The Boston fern is a star of pollution control plants. It absorbs a large amount of xylene and formaldehyde every day. The bird’s nest fern also absorbs this volatile compound as well as ammonia. Large pots are, of course, more effective. And these two plants, as well as all the other ferns, when vaporized regularly, contribute noticeably and pleasantly to raise the humidity of overheated rooms.

    Use

    Ferns are essential for all shady places in gardens, for the waterfront, and for the base of walls facing north. They are used to garnish very dark areas where almost nothing grows. Combine them with other shade plants: rodgersia , liriope, hosta …
    Note that bright bathrooms are rooms that are generally suitable for them if they are not too heated.

    Fern diseases and parasites

    The tips of the leaves or the edges turn brown and dry: to insufficient humidity. Increase the humidity of the air by frequent spraying on the foliage.

    Be careful, scale insects can invade the underside of the large fronds of the deer horn fern. Dislodge them one by one.

    The gardener’s advice

    Always prefer soft water at room temperature to water the ferns. The most delicate, like the capillary, do not tolerate hard water. To soften the water, soak a bag of pure peat overnight in the watering can.

    Regularly dust the large, fragile leaves of the bird’s nest fern with a damp cloth. Hold the slingshot from below with your other hand.

    Small glossary for the use of ferns

    Fronds: leaves of ferns.

    Rhachis: central leaf vein.

    Pinnules: leaflets of the fronds.

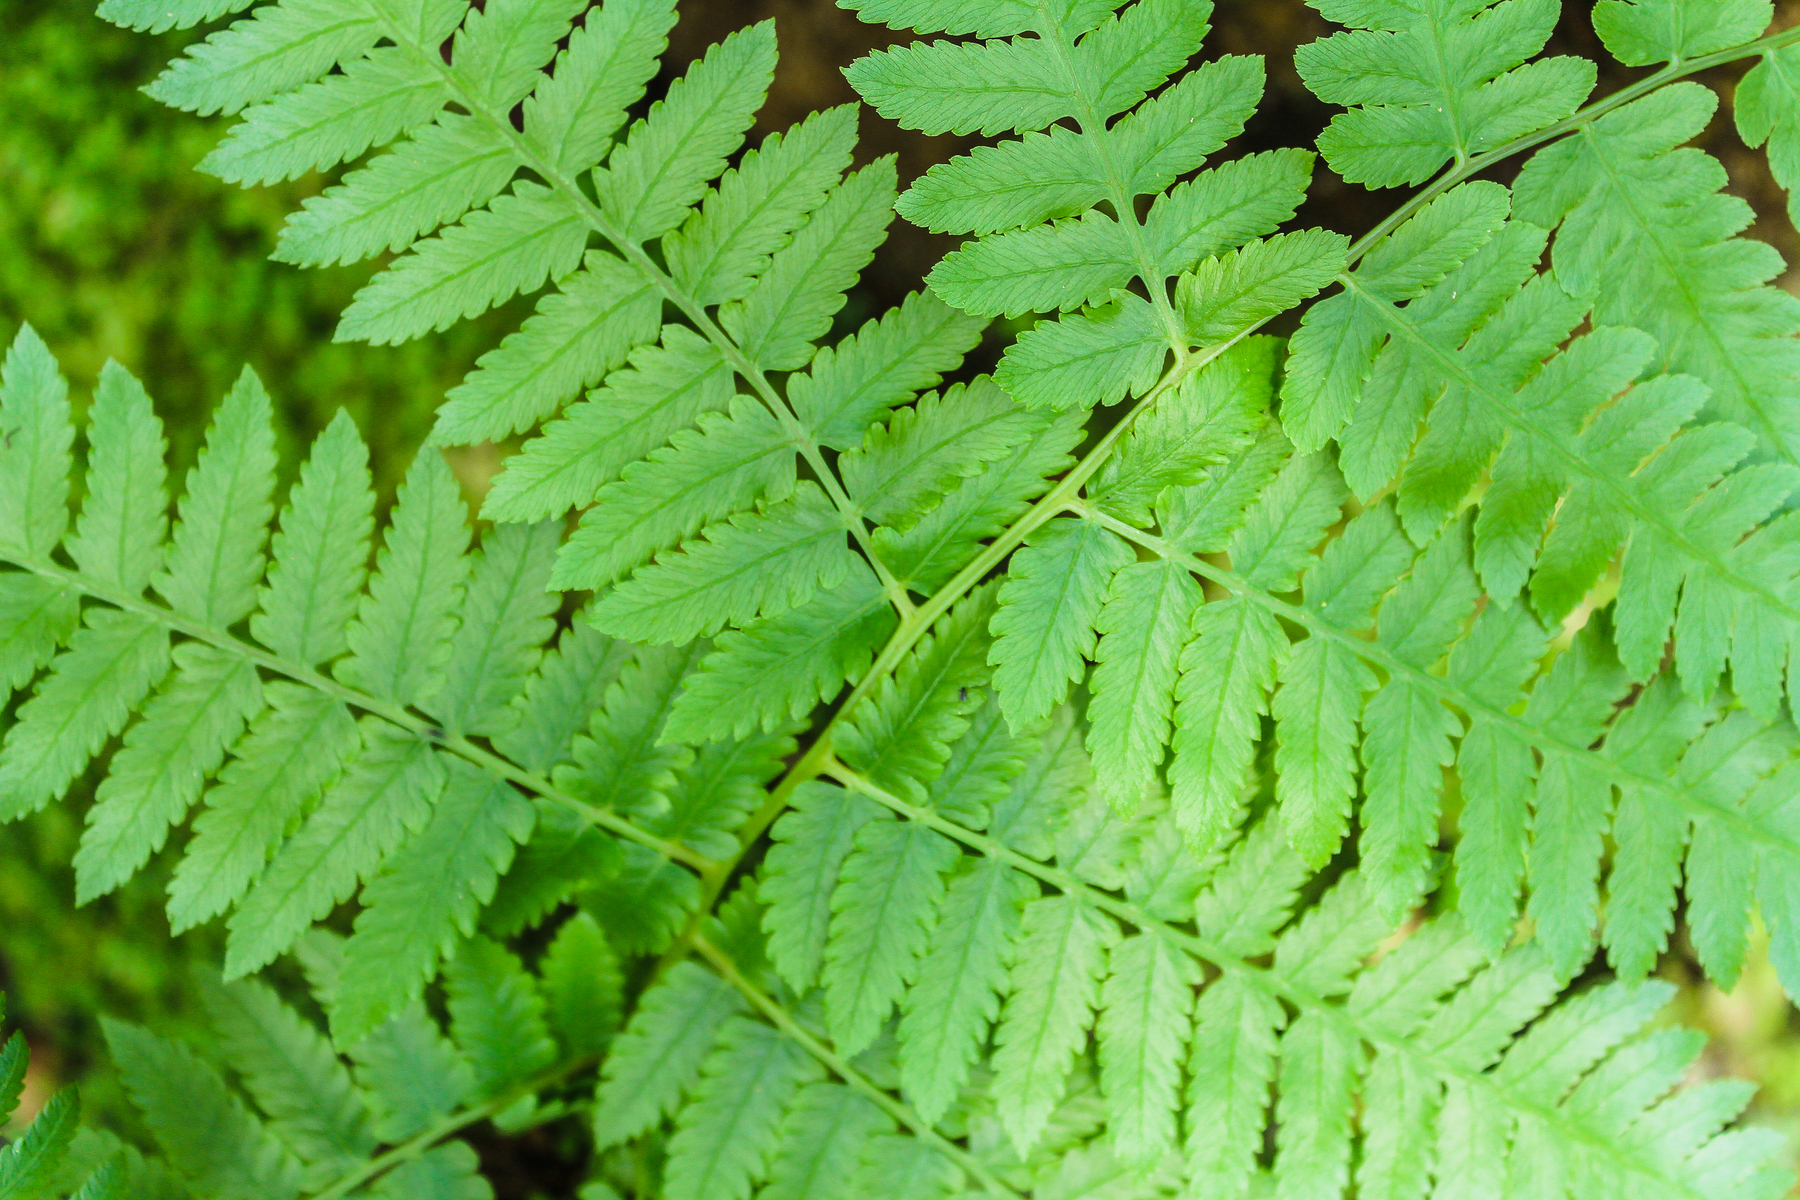
    Flowering: ferns are not plants like the others, they do not have flowers and are propagated thanks to the spores gathered under the pinnules.
  • Hakonechloa (Hakonechloa macra)

    Hakonechloa (Hakonechloa macra)

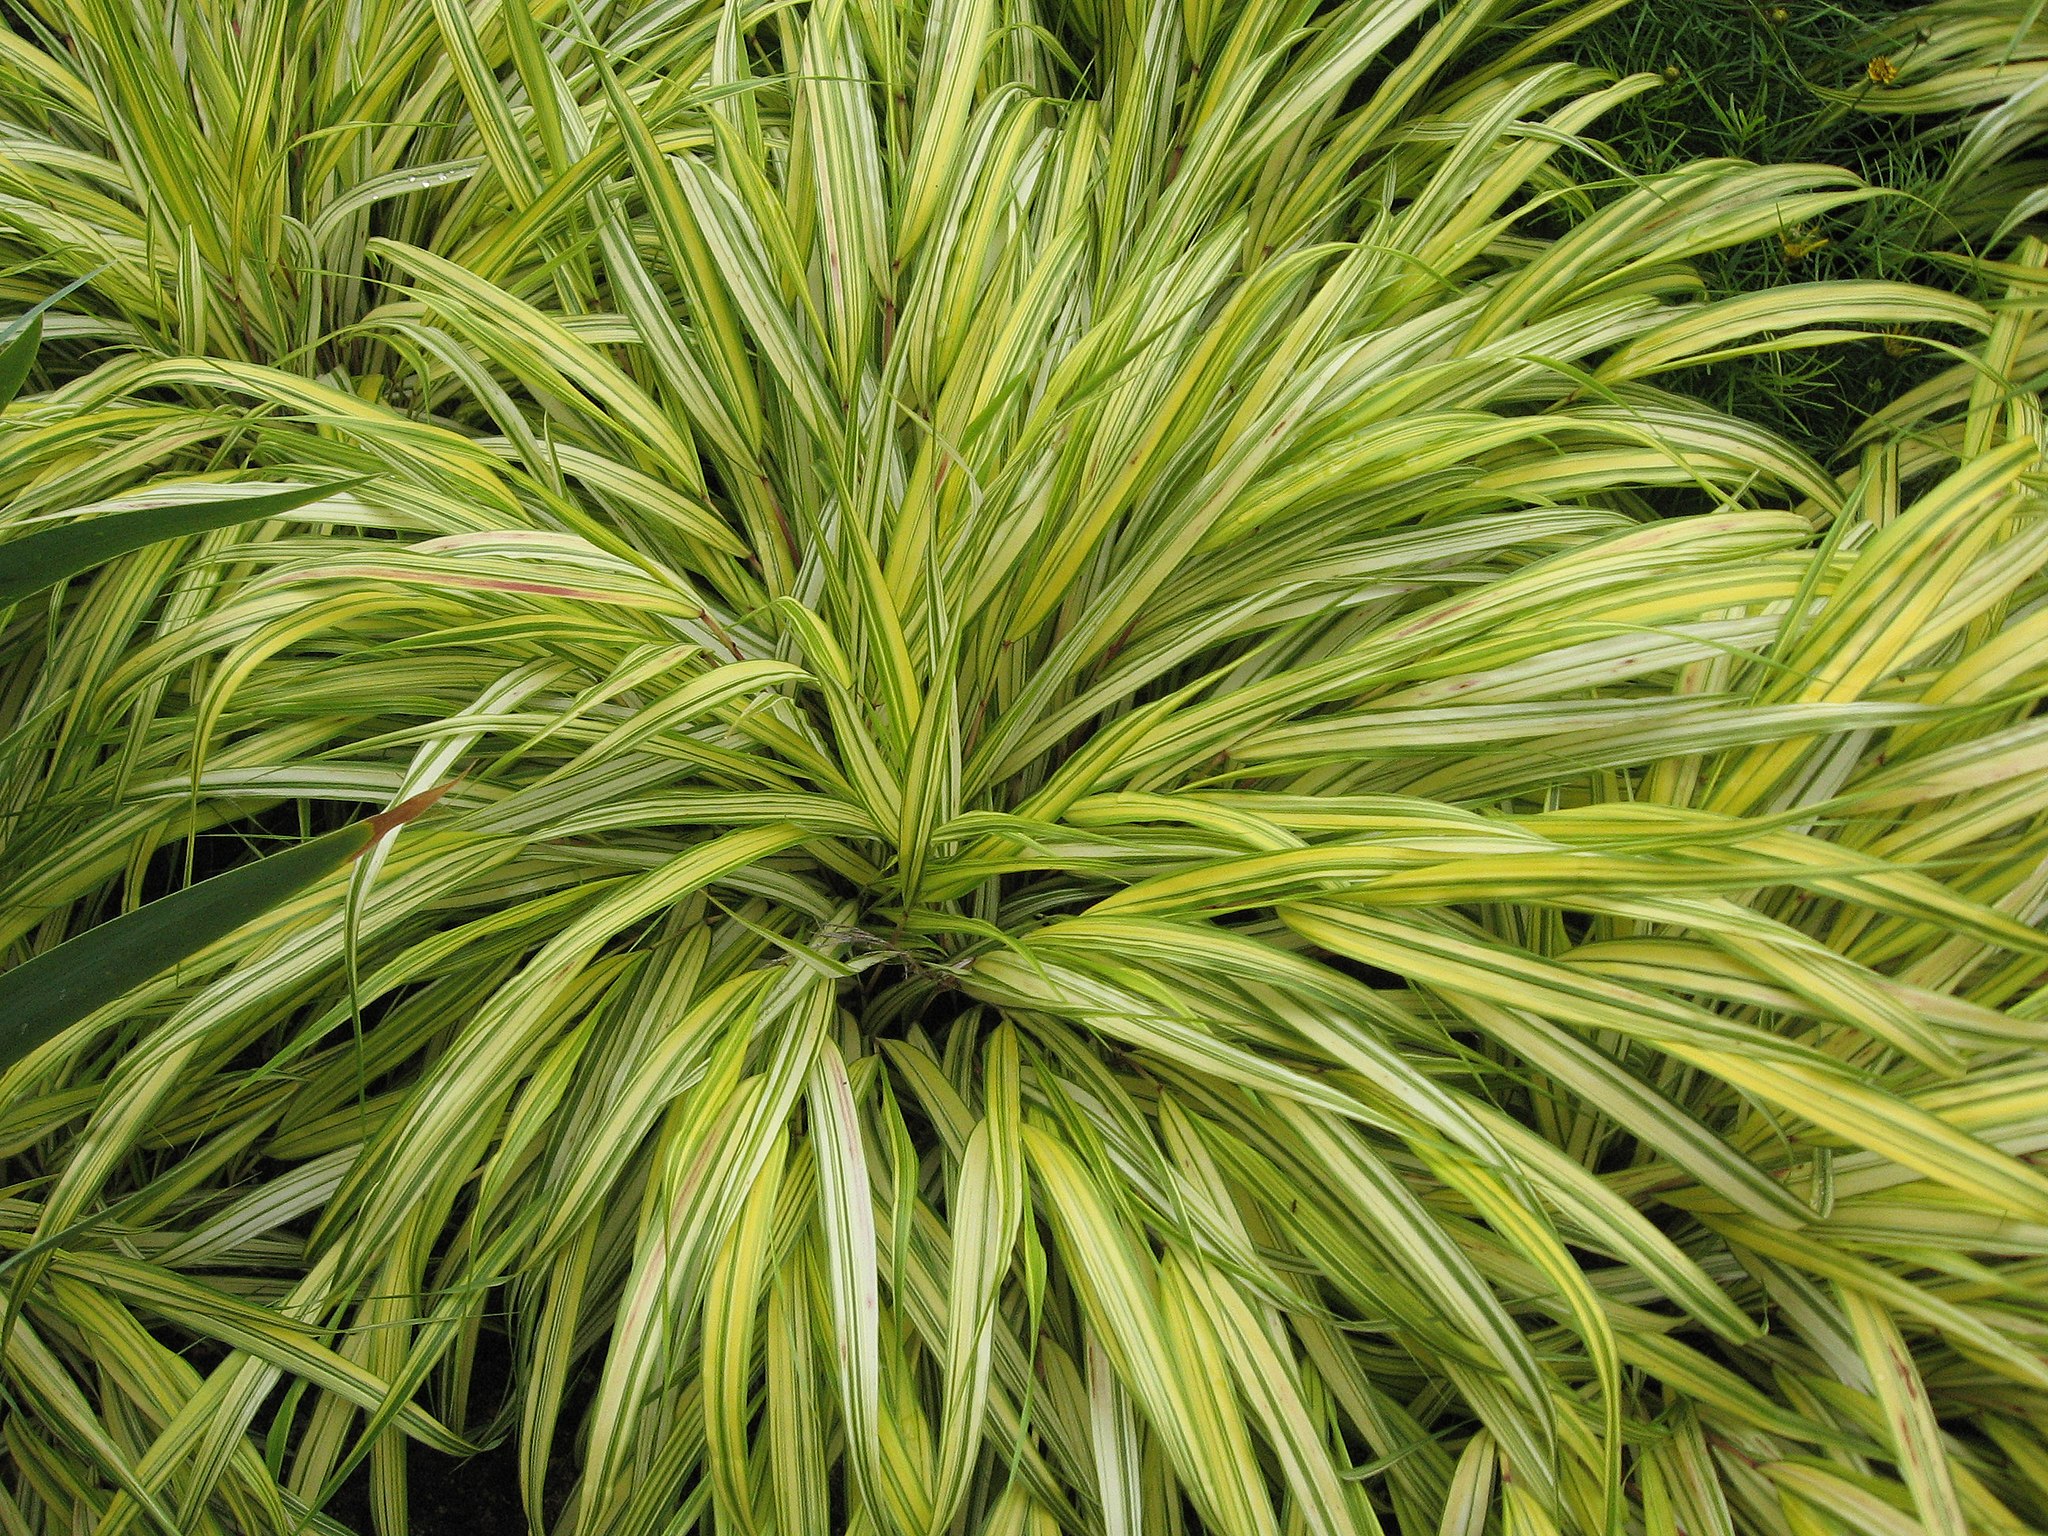
    Native to the Japanese undergrowth, this beautiful grass with an unpronounceable name grows on very steep slopes. The hakonechloa first grows vertically, up to 50 cm in height, then cascades down to the ground. The deciduous leaves take on beautiful orange hues in autumn. Tracing, but slow to grow, it will take several years to form a beautiful clump.

    Technical sheet

    Type of plant: grass
    Dimensions: 50 cm
    Exposure: shade
    Soil:   fresh and rich

    Cultivation conditions

    • Install the Hakonechloa macra in soil that does not dry out in summer.
    • It is essential to leave it space and to limit competition from other plants so as not to hamper its growth.
    • In pots, cultivate this poaceae in fertile soil.
    • Plant the variegated forms in the shade, as they are susceptible to sun scorch.

    Maintenance and other care

    • Clean the stump in the spring and add compost to the base.
    • Water or bathe the foliage in high heat.

    Use

    Use: in beds, isolated, hotpot.

    • Hakonechloa ‘Aureola’, pale yellow with green stripes
    • Hakonechloa ‘All Gold’ is totally yellow 
    • Hakonechloa ‘Albolineata’ or Hakonechloa ‘Variegata’ are streaked with white.
  • Alstroemeria Indian Summer (Alstroemeria): growing advice

    Alstroemeria Indian Summer (Alstroemeria): growing advice

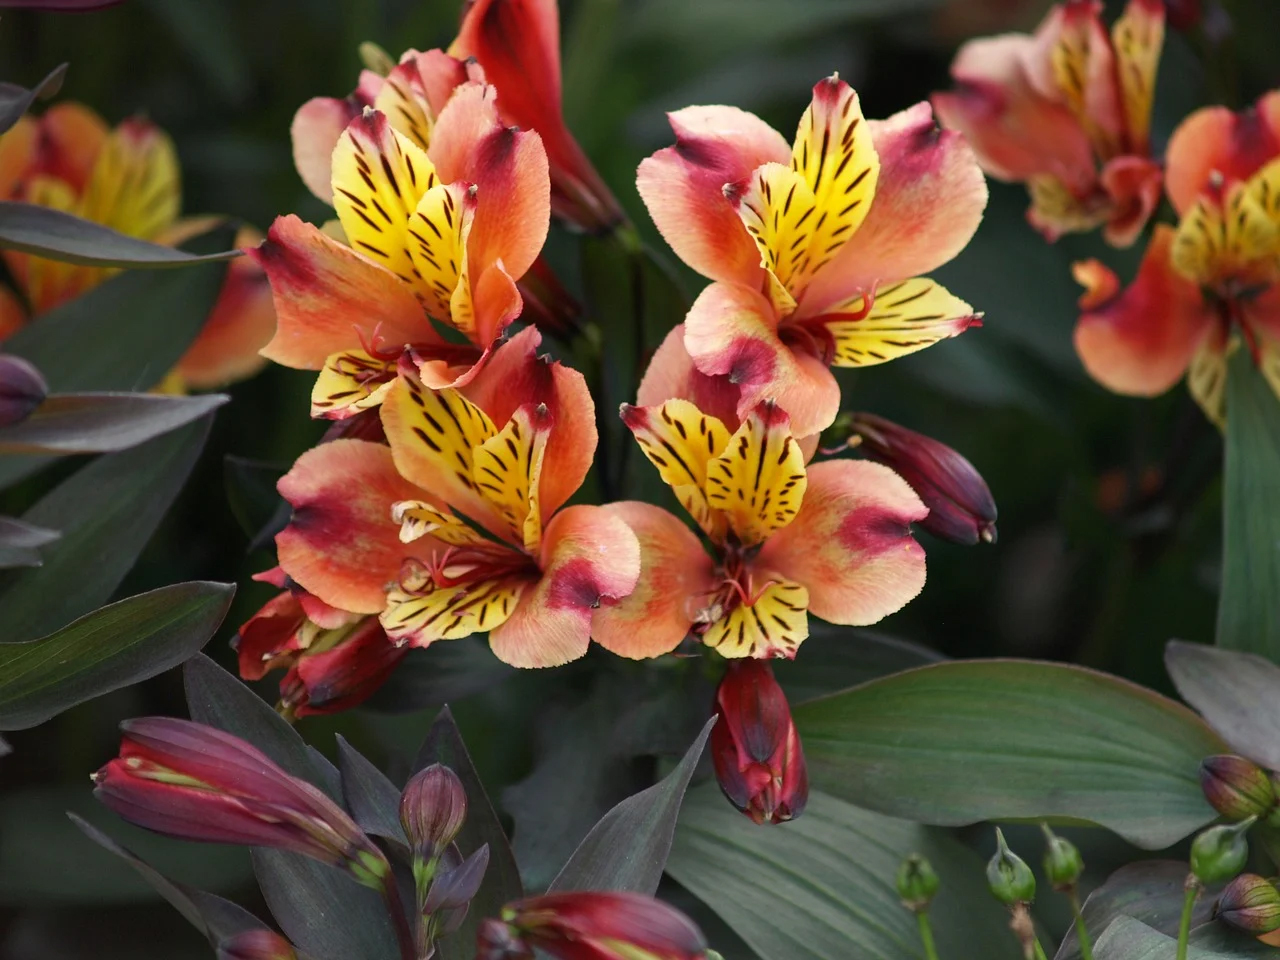
    Purple foliage of an original beauty serves as a setting for many flowers in orange hues, here is a plant with generous flowering which will be ideal for decorating flower beds and pots! Easy to grow, requiring only minimal maintenance, Alstroemeria ‘Indian Summer’ (Alstroemeria) is simply irresistible!

    Characteristics

    Soil: drained and light
    Spacing: 70 cm between 2 plants
    Planting: in May
    Flowering: from June to October
    Exposure: sun – partial shade
    Use: full ground and pot
    Height: 50 to 60 cm

    Culture

    • Alstroemeria ‘Indian Summer’ is a new cultivar, very appreciated for its generous development, the original color of its foliage, and especially the “pep” of its flowering with flamboyant hues mixing orange, yellow and brown. Easy to grow, requiring only limited maintenance, it has all the qualities to find its place in a garden or even in a pot on a balcony or terrace.
    • Wait until all risk of frost has passed in the spring to plant this alstroemeria. In the ground, it appreciates a light, well-drained soil, even sandy or stony, or poor. It appreciates full sun or partial shade in the southernmost regions.
    • Soak the root ball in a basin of water and dig a hole twice the size of the root ball in all directions. Pour a mixture of sand and compost at the bottom before installing the plant. Recap with earth. Adjust the height so that the collar is flush with the surface of the ground. Water copiously. Regular watering is necessary for the time of recovery and in summer during hot weather. If it rains enough: no need to water. Once the plant is well established, it does little for watering and even tolerates drought.
    • In pots, choose a container pierced at the bottom. Line the bottom with a layer of clay balls, to ensure drainage. Fill the pot 1/3 full with a mixture of potting soil, garden soil, and river sand. Install the plant in the pot before filling the vacant gaps with the substrate. Water. Although this plant does not require much water, do not forget that in a pot, the substrate dries very quickly. In summer, water when the mixture dries on 3 cm and never leave water in the cup. Adding a ‘Special Flowering Plant’ liquid fertilizer every 3 weeks is sufficient to support flowering. Although hardy down to -10 ° C, the plant has deciduous foliage that disappears in winter. It is then sufficient to cut it 10 cm from the ground and then mulch the stump to protect it from the cold.
    • Overwinter the alstroemeria ‘Indian Summer’ in a pot in a frost-free location and water only when the substrate is almost completely dry. Repotting takes place in April-May at the first signs of recovery.

    use

    Alstroemeria ‘Indian Summer’ works wonder in beds or in mixed-border with the purple color of its foliage which can be admired at its true value. Orange flowers blend perfectly with bedding plants in bluish, lilac, or yellow hues to create contrast or stay in continuity. On the balcony or on the terrace, in a flared jar, it displays all its beauty!

  • Miscanthus sinensis (Gold Bar), a golden striped reed

    Miscanthus sinensis (Gold Bar), a golden striped reed

    This sparkling Chinese reed stays graceful in all seasons. Compact and slowly growing, it will squeeze into a cramped garden.

    With erect foliage marked with wide creamy yellow stripes across the width of the leaves, this miscanthus sinensis ‘Gold Bar’ grows into a straight, stubble bush. It resembles the variety ‘Strictus’ with a lower development, not exceeding 1 m in height. At the end of summer, its ears bloom, erect in fine shiny feathers, first tinged with pinkish beige, then burgundy red or purple. There is no risk that the garden will be invaded by its rhizomes: they spread slowly.

    Technical sheet

    Latin name: Miscanthus sinensis ‘Gold Bar’
    Location: thrives in all regions. Withstands cold down to – 20 ° C approximately, without protection.
    Exposure: bright and well ventilated.
    Soil: deep, rich, cool but well-drained soil is ideal; however, this miscanthus also adapts to poor soil. It fears stagnant humidity in winter.

    Where to install it

    In a zen garden with bamboo and gravel; on a terrace between wooden or stone slabs; in an autumn massif with white asters.

    Interview

    Plant miscanthus sinensis ‘Gold Bar’ in late April – early May, in groups of 3 to 5 feet, adding gravel if the soil is very wet. Do not pick all the plumes for your dry bouquets; in winter, they are magnificently powdered with frost. 
    Cut the stubble a few centimeters above the ground in March, never before.